
I needed to make a stuff sack to finish off my Hammock Tent anyway so I thought I would post some instructions and photos showing how I do it. This may help you get into sewing your own gear – as I do.
As you can see the completed tent with floor, all guys, line locks and 18 pegs (for really strong winds – you could get by with half of that or none – just use bush sticks) weighs 783 grams. There is already a stuff sack in there with the pegs inside it. I use the peg stuff sack to roll the tent reasonable tightly.
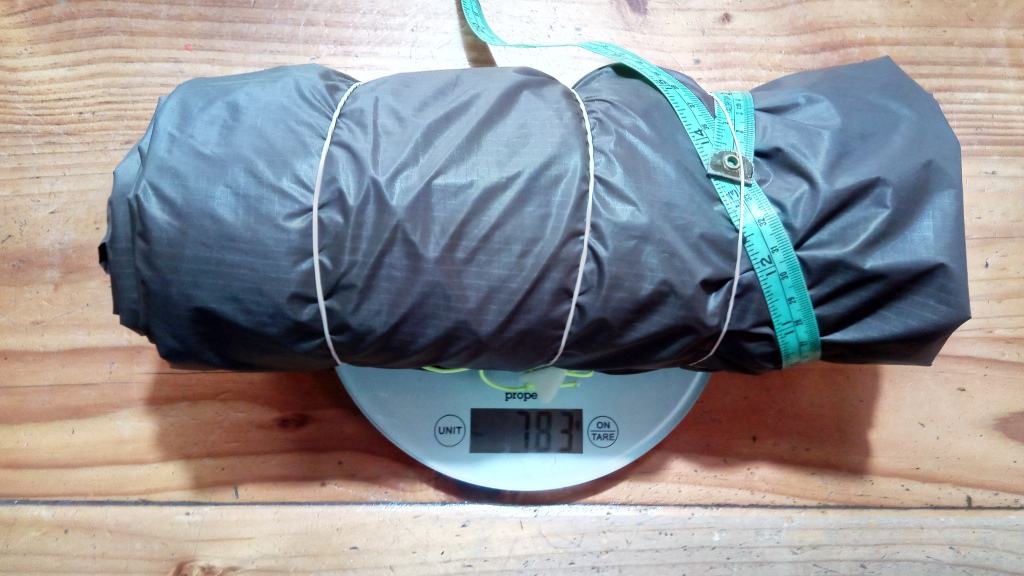
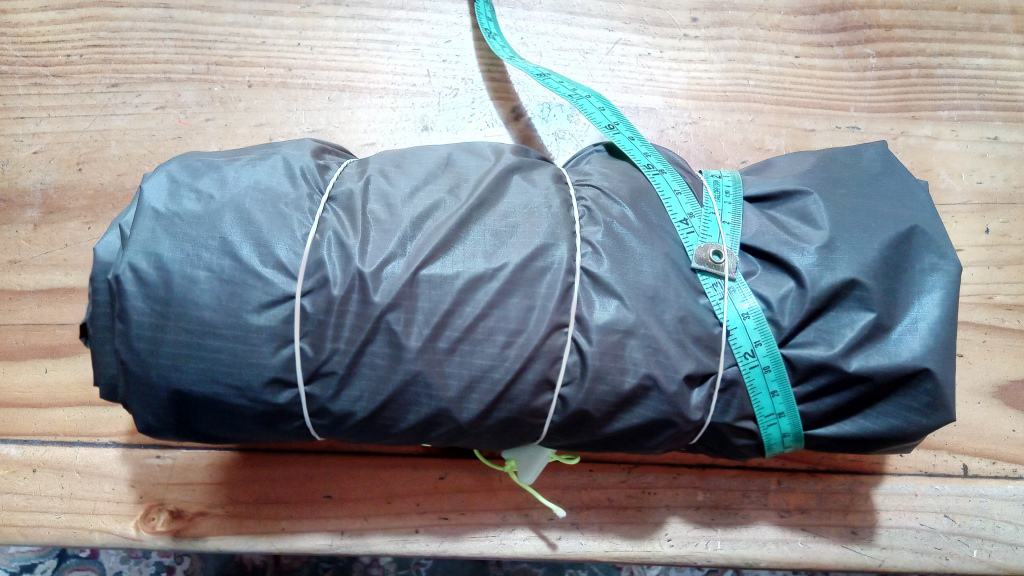
You measure the circumference and the length. In this case 13″ in both dimensions. Measure the length from the centre of each rolled up end. You need to add an inch (2 cm) for ‘ease’ and an inch for seams.
The 18 (approx 8 grams ea) shepherd’s hook pegs in their bag weighed 153 grams of that and the 8′ x’ 5′ floor another 101 grams.

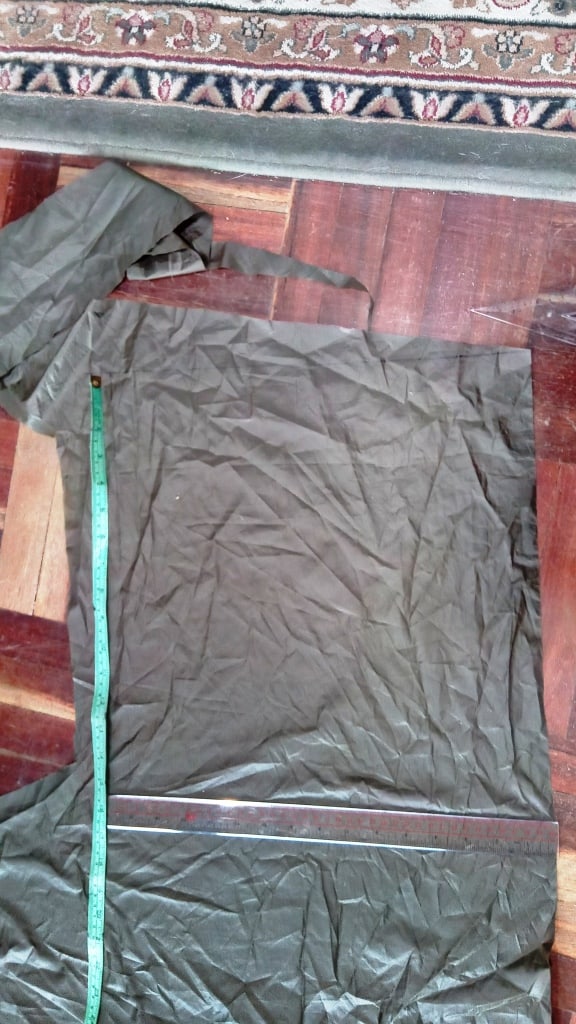
Measure and cut out the piece of material. in this case it is 15″ x 15″.
Pin the side hem about 1/2″ in from the edge. Always pin in the direction you are sewing. The material moves away from you.

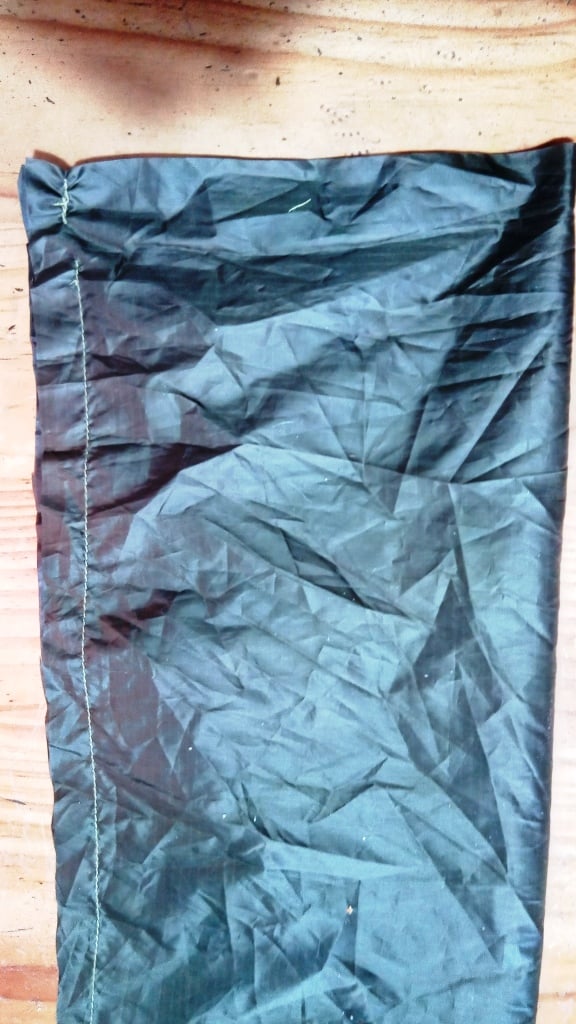
Sew up the side like this. You have to go back and forth at the beginning of every piece of sewing to lock it in place. You will notice the gap in the seam top left. This is for the draw string.
Sew the bottom hem.

Flatten the side seam turn inside out and pin like this. This gives a doubled over edge for your draw string at the top (instead of a raw edge which would fray).
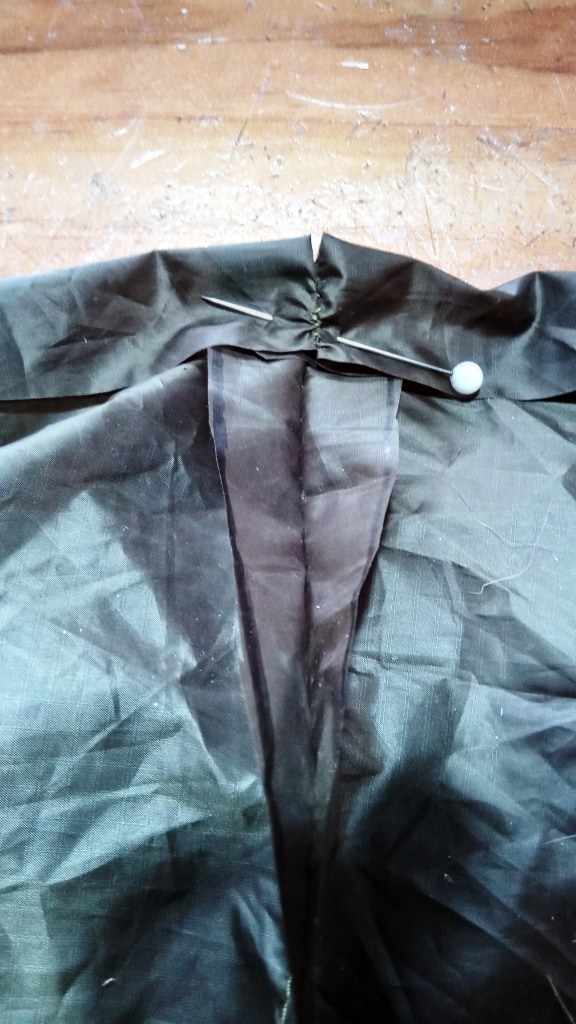
Pin all the way around.

Put it on the machine like this pulling the bottom side of the bag away (to the left) so you don’t sew through it too. I hate unpicking. Sew a little bit, then pull some of the bottom seam back towards you making sure that it is not caught under your sewing. Sew a little more, repeat and a little more until you have gone all the way around.

Turn the sack right side out. Put the tent inside. Fits just perfectly, don’t you think? Della has this proprietary needle for pulling draw strings through. You can buy one for <$1 from Spotlight etc.

When you get nearly all the way around you need to shove something in the other way so you don’t get caught up in your doubling over.

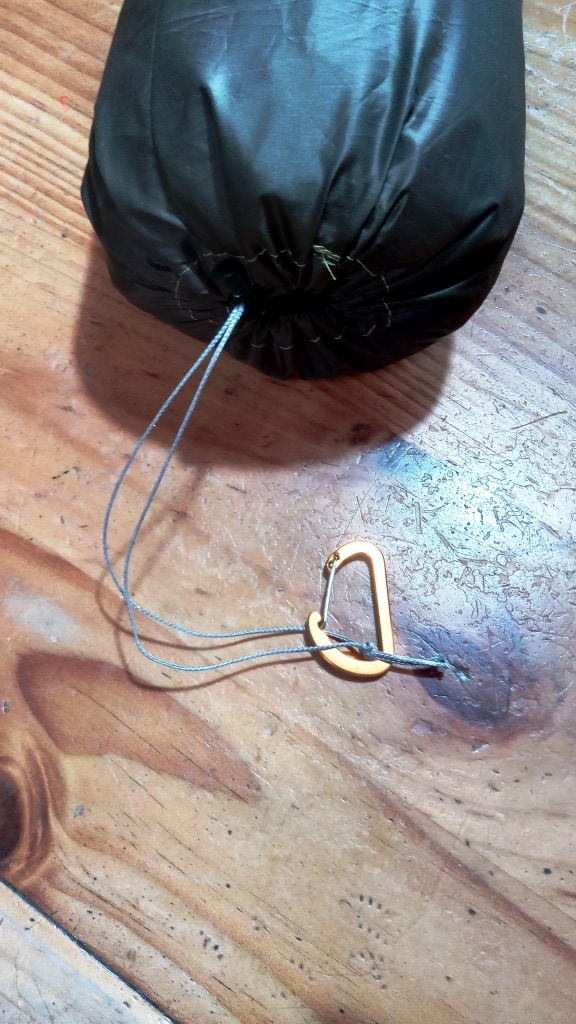
Melt the ends with your mini Bic lighter, thread through the micro cord lock then tie a simple overhand knot.

I usually add a tiny carabiner such as this so I can attach it to a loop on the outside of my pack – as I carry the tent in one of the side pockets and do not want to arrive at camp having lost my tent! Worth 2 grams I think.
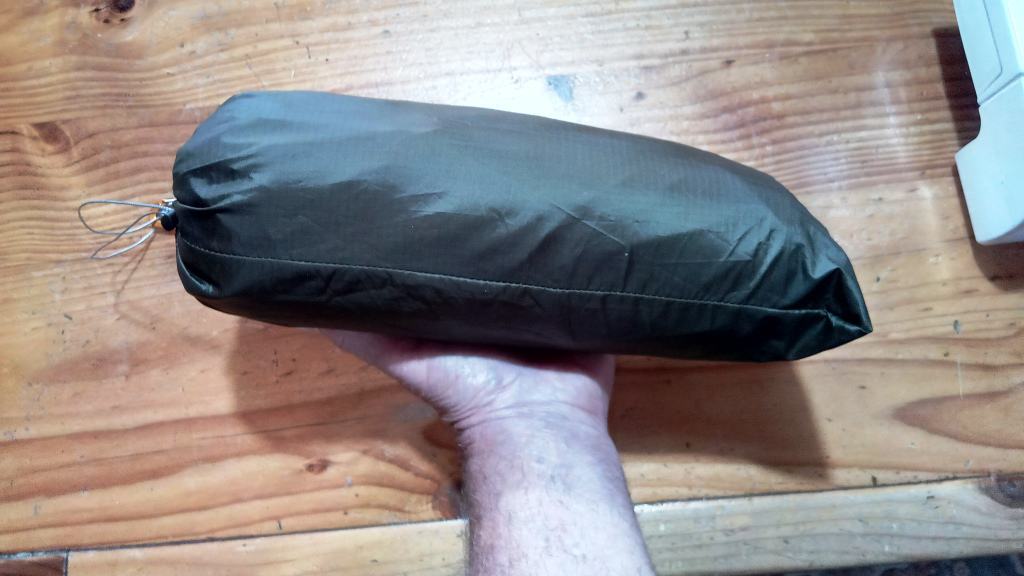
It makes a handy bundle even if I do say so myself.
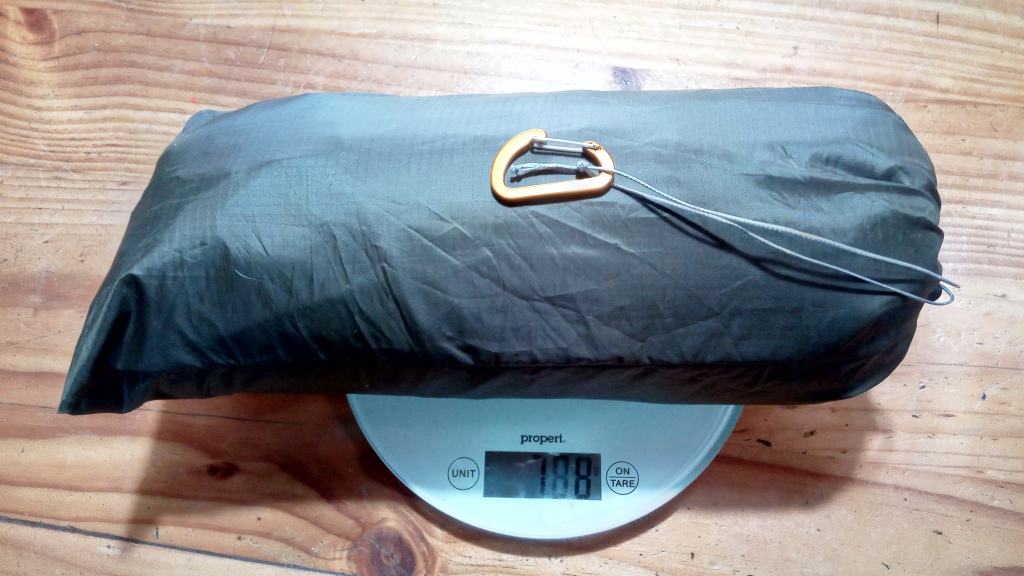
And as you can see the stuff sack including cord, micro cord lock and mini carabiner only weighed 5 grams. I am pretty happy with this 788 gram tent.
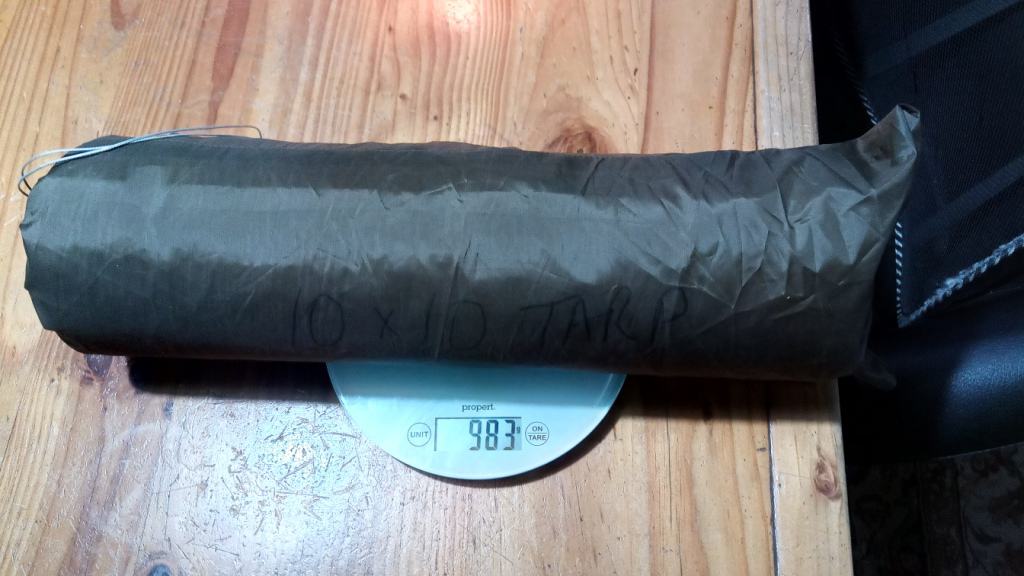
BTW: The Tyvek version with 7′ x4′ Tyvek floor weighed 983 grams complete with guy lines etc and 18 stakes:
See Also:
https://www.theultralighthiker.com/2020/03/27/silnylon-hammock-tent/
PS: There are lots of other ways to make stuff sacks (as Dave Sailer points out in Comments, eg http://thru-hiker.com/projects/silnylon_stuffsacks.php & http://thru-hiker.com/projects/ The method I have shown here makes a quite satisfactory stuff sack which should last you many years very simply. Why not give it a try?
Have you seen this? “Make Your Own Silnylon Stuffsacks” at http://thru-hiker.com/projects/silnylon_stuffsacks.php
Other projects: http://thru-hiker.com/projects/
Thanks once again for your input Dave. I have added the suggestions to my post. Cheers, Steve.
Still following your posts with a lot of interest – thanks very much.
Stay well, Tim
Thanks Tim – Have you gone back and read the 1300 old ones? Cheers, Steve.
:o) Actually I do that too from time to time.
You should move on to a bigger project – like a tent for example. Cheers, Steve.