I am slowly working my way through the many issues involved in constructing ultralight wood burning stoves for tent heating, cooking and electricity generation. This will take some time. The most important first step however involved whether I could construct an ultralight roll-up chimney without having to be able to weld such lightweight metal foil materials. This is my first attempt and though it was a success I am not completely unwounded (neither is Della) and we have learned much.
I will develop some different strategies, techniques and materials as time goes on, but I thought you might be interested in one simple method I used which requires quite minimal tools: (super) scissors, drill, pop-riveter. I was working throughout with some .1mm stainless steel foil obtained from eBay. It cost me around $30-40 for 5 metres times 30 cm width. This would be enough to construct more than five chimneys!
First I have to construct the tension bands which will hold the rolled-up tube from springing open. I marked out some 1/2″ wide (12 mm strips).
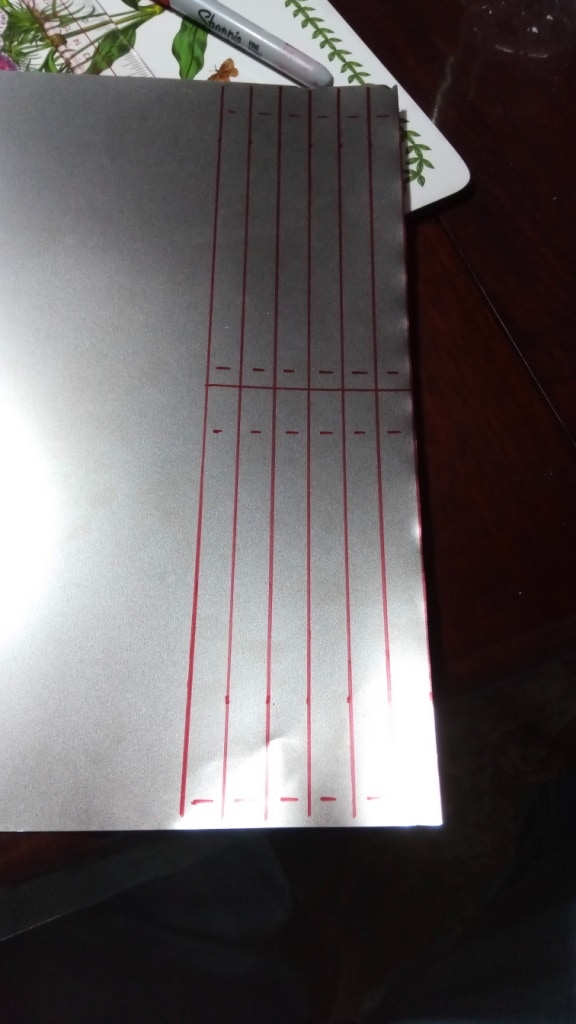
And cut them out with the (super) scissors.
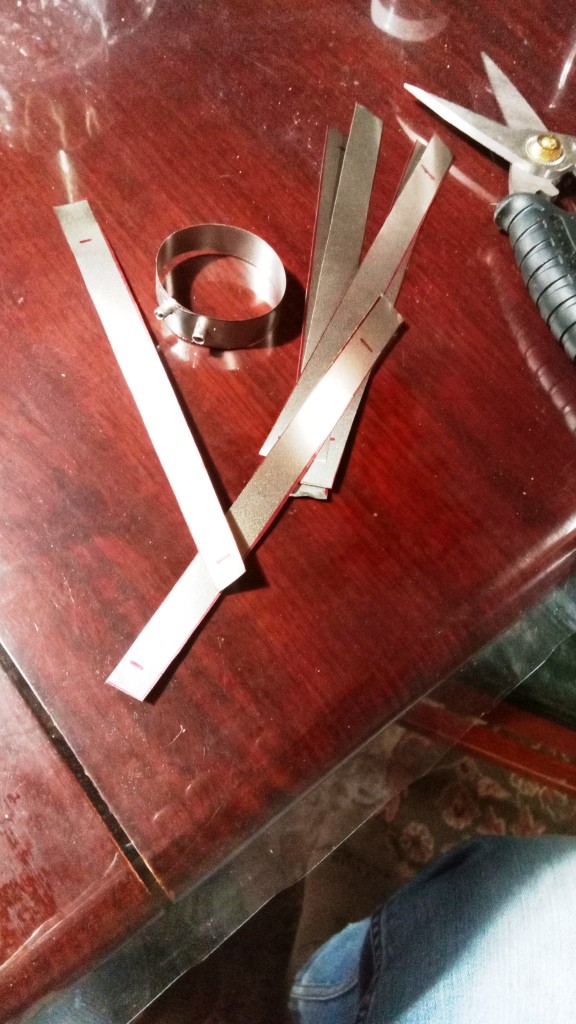
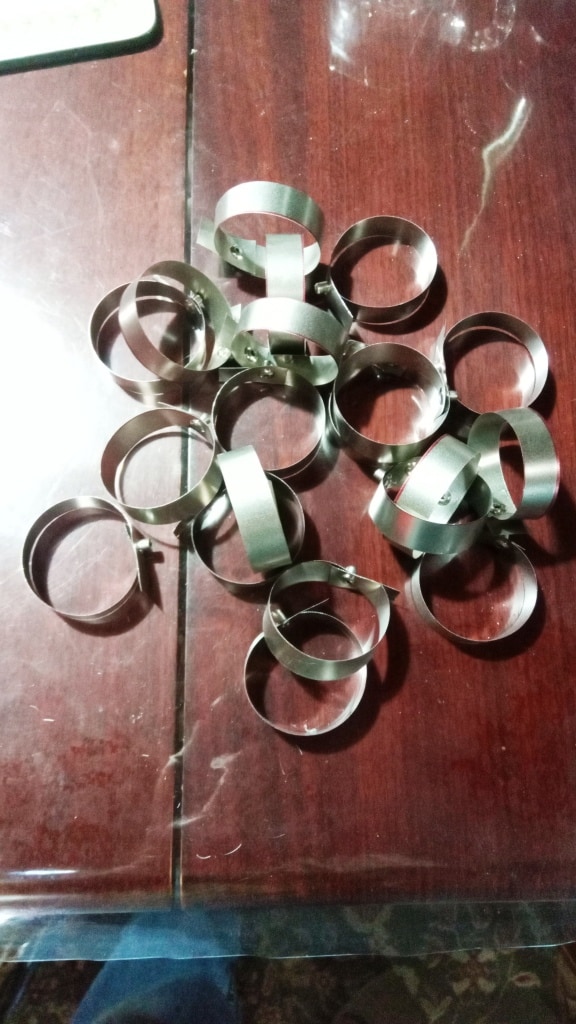
I then drilled and pop-riveted them together mostly with just one rivet. Each band weighed around 2 grams. I’m sure I can improve on this, particularly as to the presence of sharp edges/tails (ouch!), and as regards weight, small (lighter) copper rivets and shorter, curved tails might bring this down to 1bout 1.5 grams each. I made 20 of them.
I cut a 6″ (15cm) by 6’8″ (2 metre) roll of .1 mm stainless steel foil as shown. You have to roll it out straight on the floor then roll it up sideways. Our technique will improve.
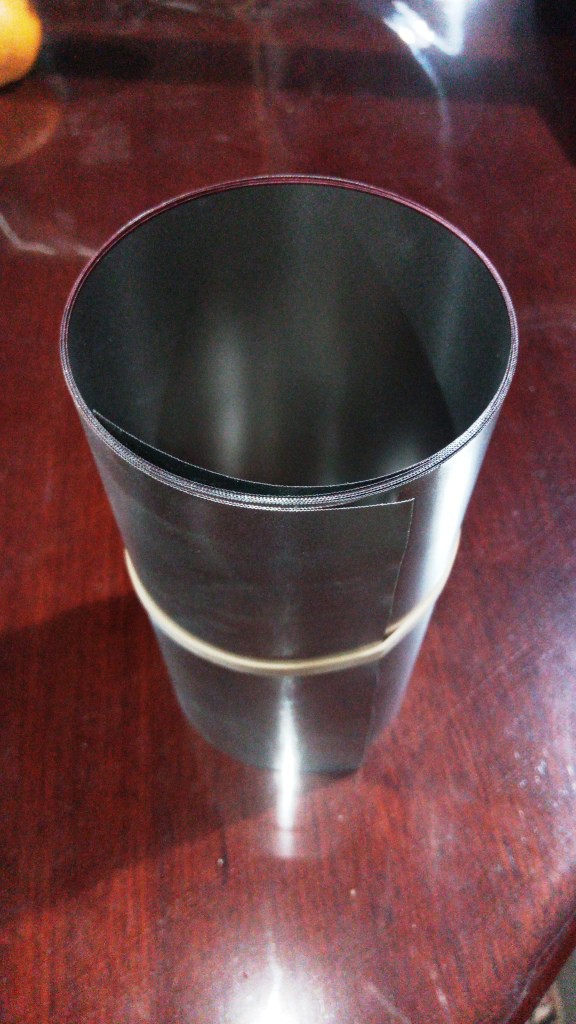
Then you have to slip the bands on it as shown to make the chimney. This one is 40 mm (1 1/2″) in diameter.
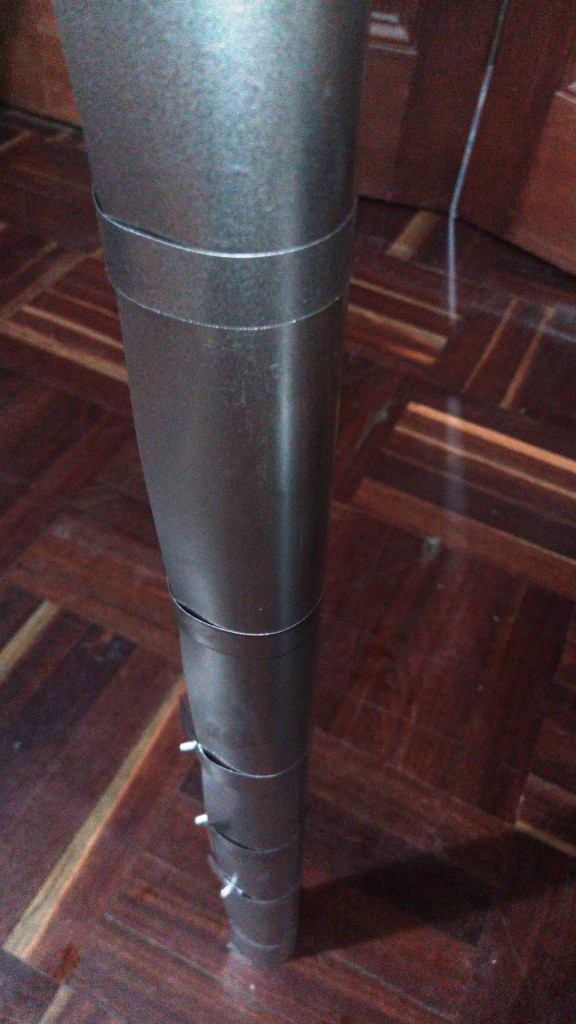
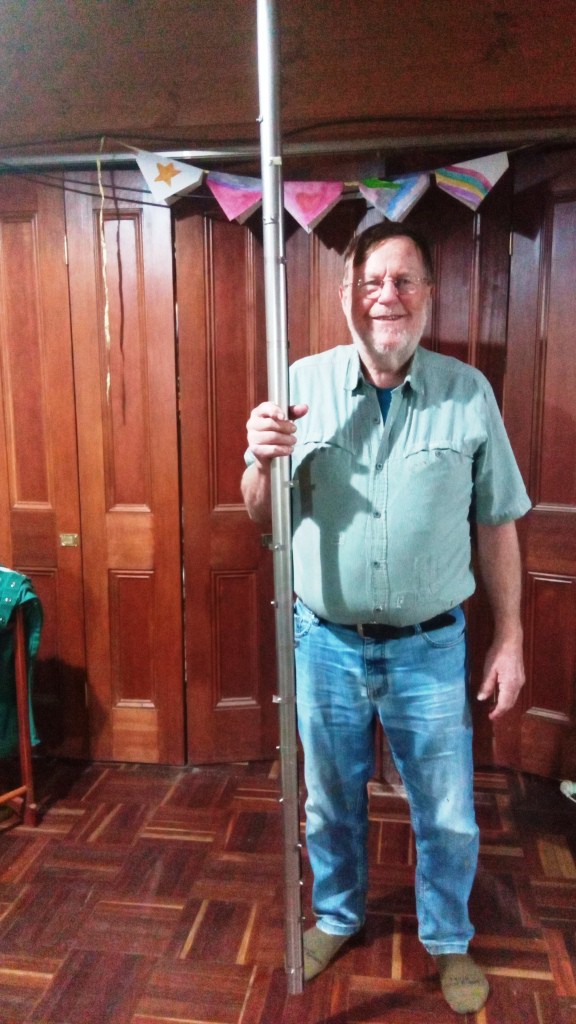
I ended up with a 2 metre long chimney. Given that any stove (top) is bound to be between 6″ and 18″ (say) above the ground and that my tents are never anywhere near this height this length will be more than enough. It would no doubt be much easier to make two 1 metre lengths and then simply slip the top one inside the bottom one.
Here is what it looks like inside.
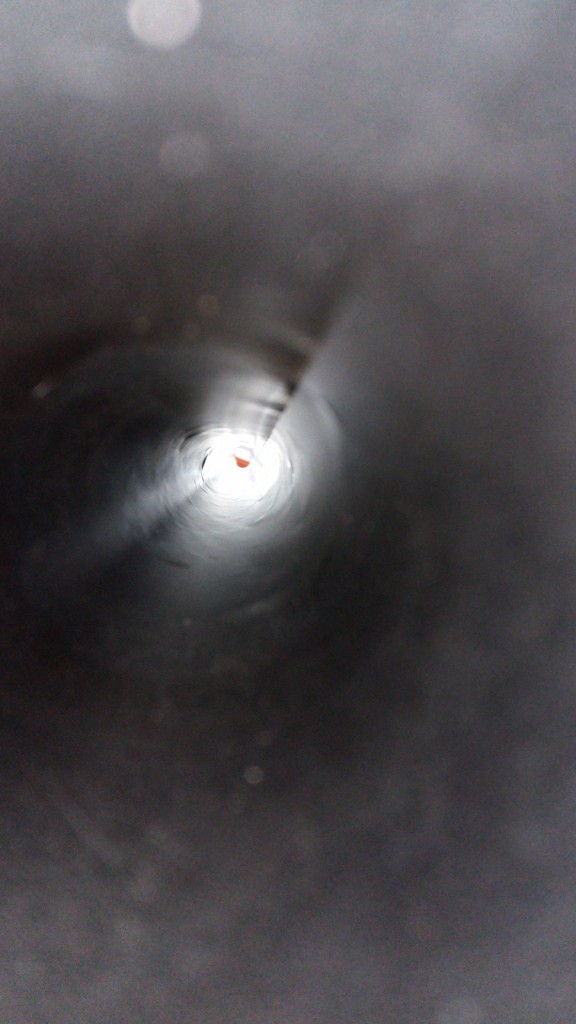
Apparently after it has had a fire in it a couple of times it will ‘remember’ its (two) shapes better and become easier top roll up in each direction.
I can now construct a few trial stoves to see how well they work (and whether they are satisfactory for eg heating my tent and/or cooking on. Then I can proceed to purchase some TEGs to construct electricity generation devices. All this will take some time – so check back.
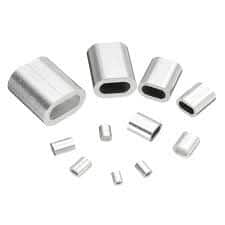
Note: Next time I will try constructing the bands using stainless steel fishing leader wire (or titanium wire) and swages/ferrules/crimps. This should make them lighter and less likely to cut one’s fingers! Fishing leader swages (below) can be purchased in many different small diameters for around 1 cent each. You can crimp them with a hammer. I would construct the bands around apiece of 4o mm diameter steel pipe so I could make them all the same diameter and crimp them with a single sharp tap. Mind you even using the pop-rivet method if I had trimmed the ends round and folded them over before op-riveting there would have been no sharp edges to cut our fingers – did say we had learned a few things from this build.
PS: I have also found that the Lenox brand of ‘T3’ hole saws will satisfactorily accurately cut holes in stainless steel/titanium foil sheet metal. The raw edges can be tidied up a bit (if you like) with a round file or stone afterwards. Quite a satisfactory hole for the chimney, fuel tube etc.
You can just use a stainless steel (etc) bowl for the (wood) stove body. You can start the fire on a(disposable) aluminium pie dish (to protect the ground) , then place this stove with chimney attached over it then commence adding wood (vertically) through the fuel tube. It will feed itself in.
An egg ring (or similar) vertically below the fuel tube will keep the fire centred. The addition of a flame diverter will make the stove more efficient. This can be a simple sheet of SS foil bent at 90 degrees whose bottom conforms to that half of the stove it sits on and whose vertical side conforms to the shape of the sides and roof of the stove body (with a space cut out as far away from the chimney as possible) to allow the air to flow around it and create a secondary combustion chamber. It would be possible to so cut the end of the chimney so that it can be turned to increase or reduce air flow. (All this will become clearer in a later post).
PS: This is what I will use it for: Tent Stove Progress
Been there done that.
https://www.kijiji.ca/v-view-details.html?adId=1493853018
Google chimpac
Been there done that.
https://www.kijiji.ca/h-calgary/1700199
Google chimpac