
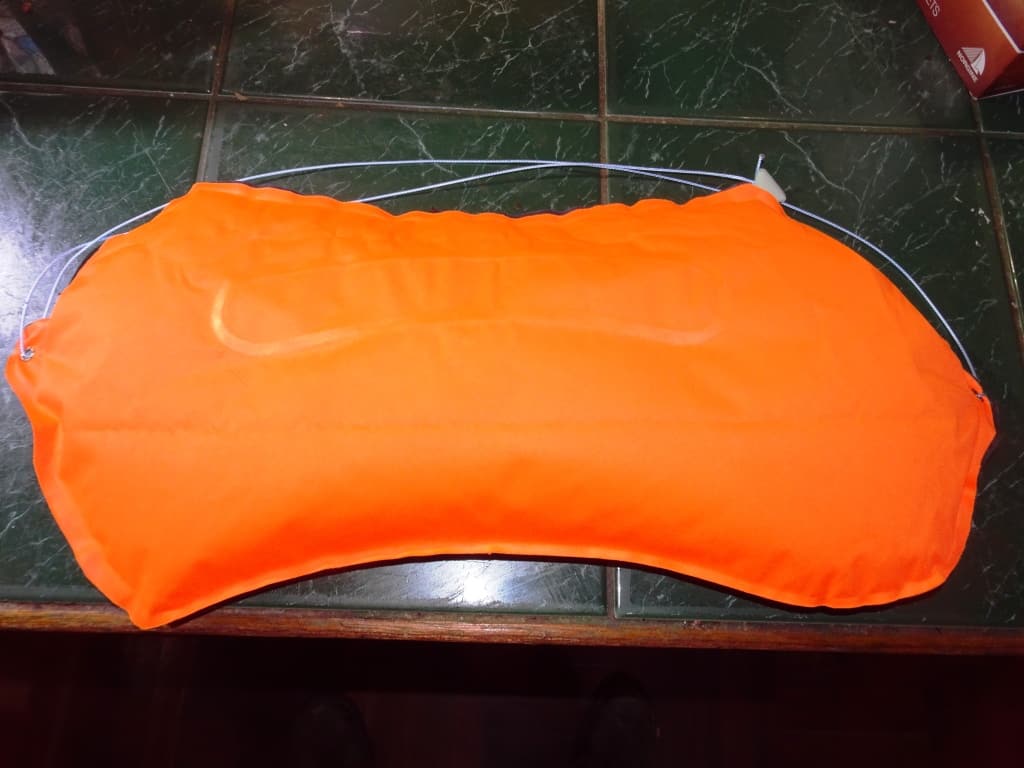
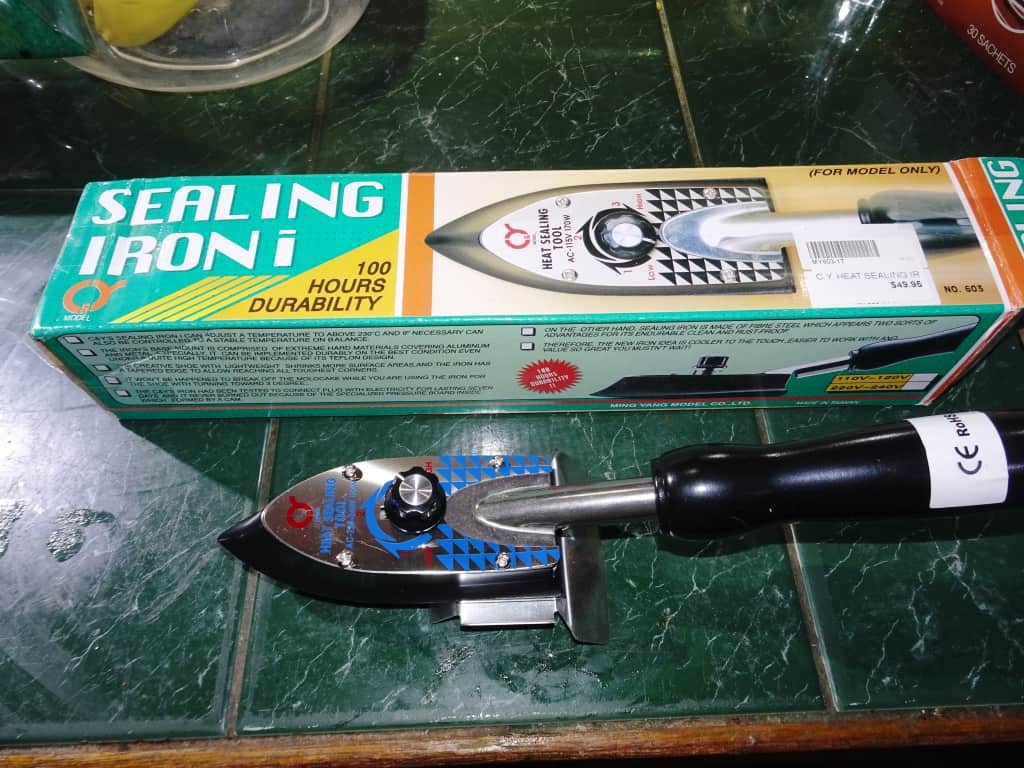
I have been playing a bit with heat sealable materials. I decided to buy a sealing iron $A50 – a sound buy. Tried it out on one of the pillows I bought for my sleeping pad side insulation which I had been reluctant to touch as I was finding it so comfortable, but at 100 grams I didn’t think I wanted to carry it. I have shaved half its weight off (now less than 50 grams) and if anything it is even more comfortable. As you can see I have added grommets, some 1 mm dyneema cord and a micro clam cleat so I can attach it to the mat. If I were using two of them for side insulation I would leave the grommet attachment points on the side of the pillow instead of the ends as shown here.
You really need to try a little bit of such experimentation yourself before you start cutting down an expensive mat. I have an Exped Winter mat which is just about the best mat I have ever used (and so warm too), but it is 6″ longer than I need it to be which apart from the surplus grams is a bit of a nuisance too, as I am most comfortable with my heels just hanging over the end and with the extra six inches this makes for a bit of wriggling downhill every time I get back into bed which at my age (as you will find out for yourselves soon enough) is more often than I would like. It will weigh 394 grams when I cut it down, have an R-rating of 5 and is 9 cm (3 1/2″) thick!
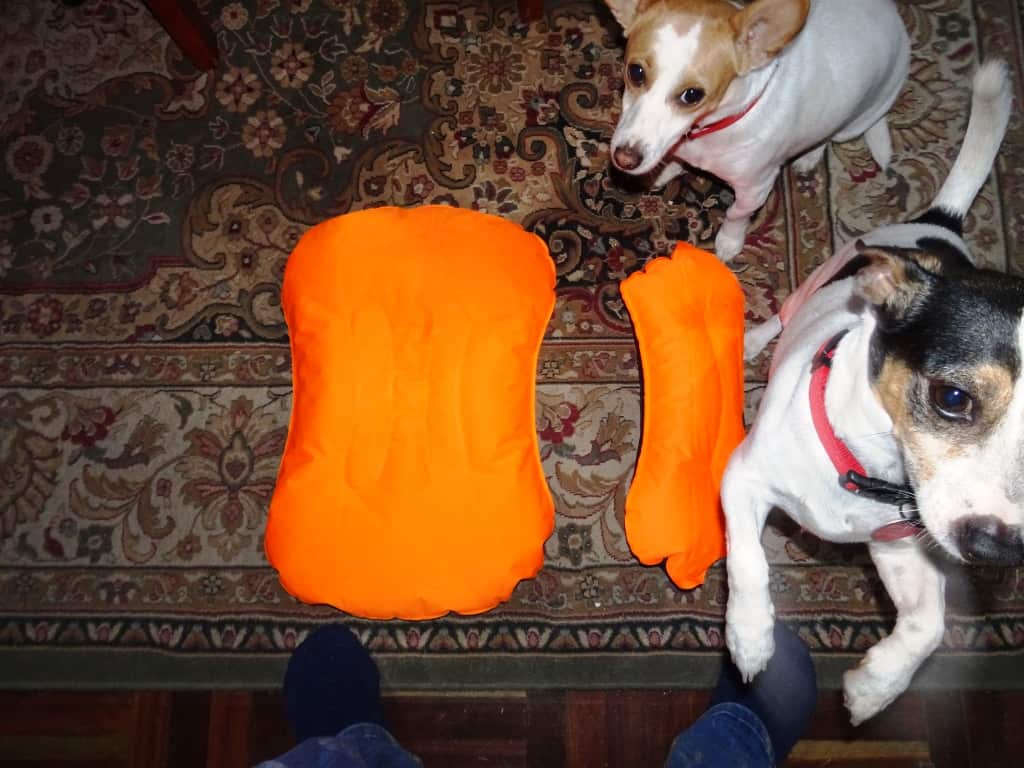
A little more playing around with cutting down pillows for side insulation, and trying to make a cheap air frame for my pack and I will be ready to give the pad shortening a go. After I have succeeded at that there are a number of other projects I want to try. I will have a go at a DIY pack raft (which will save more than half the normal purchase price- currently AU $251.67 Jun 2019). I may even get around to making that inflatable bathtub groundsheet I have threatened. I need a quantity of more experimentation before I am good with lighter fabrics such as Graham Air pillows etc, but I will get there. BTW the DIY pack raft folks have all the materials you will need to get into heat sealable projects yourself. This repair tape looks particularly useful, as do the valves if you are making your own projects.
PS: You can just use a normal domestic iron (though it might be a little more difficult to control the temperature and to get into those smaller spaces). I have used ours though in the past to reseal split seams on various pads/pillows.
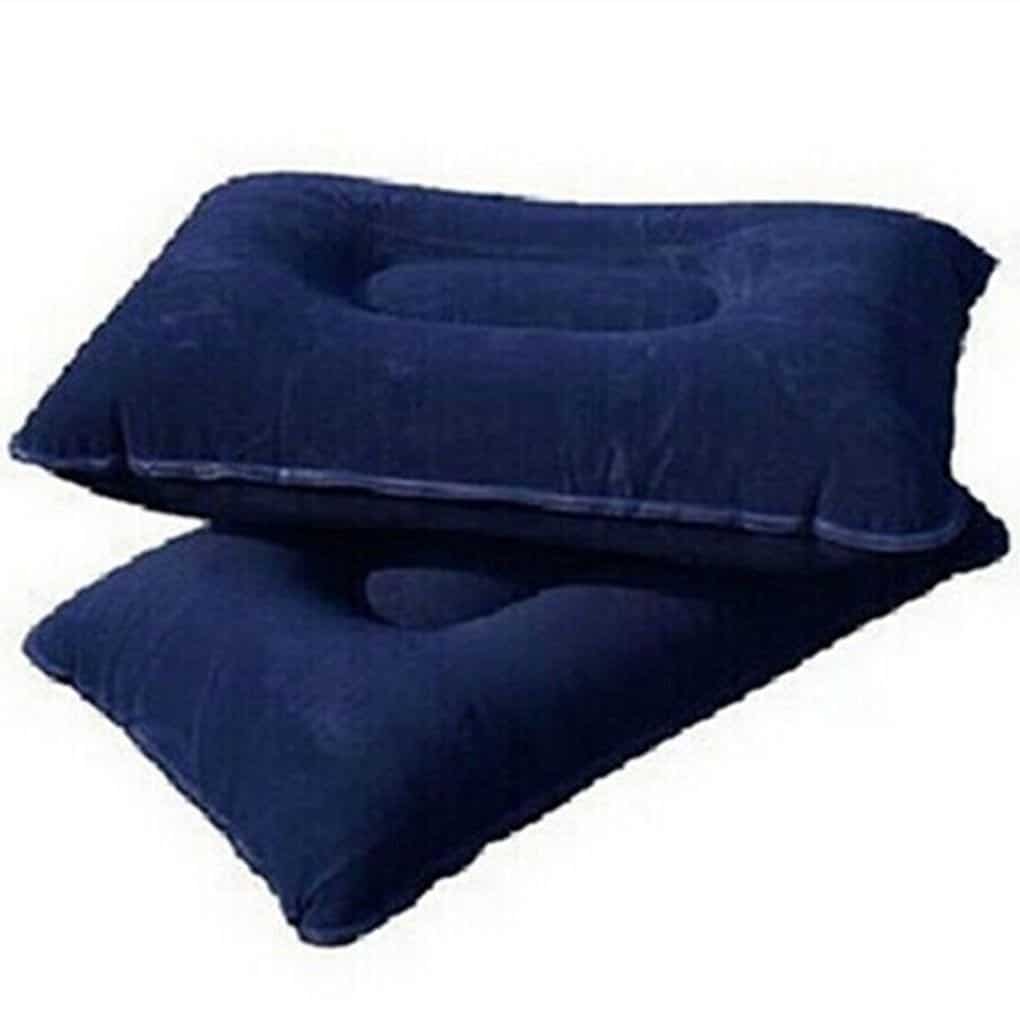
PPS: These pillows from Amazon weighed 43 grams each and cost A$2.88 for 2! They are supposed to be 43 cm x 31 cm (but in reality 34 cm x 22.5 cm), have a nice soft feel and should cut down to a bit over half of that, say about 25 grams each or 50 grams for the side insulation set-up. They have one of those push-in plastic valves (which don’t like). The valves on the orange ones above are great.
See Also:
https://www.theultralighthiker.com/2019/05/15/cheap-comfy-hiking-pillow/
https://www.theultralighthiker.com/2019/05/04/stop-losing-your-pillow/
https://www.theultralighthiker.com/2016/09/09/modifyingshortening-hiking-mats/
https://www.theultralighthiker.com/2017/01/02/new-diy-pack-raft/
https://www.diypackraft.com/shop/merchandise/adhesives-sealants-merchandise/outdoor-repair-tape/
https://www.theultralighthiker.com/2018/10/27/diy-air-frame-pack/
https://www.theultralighthiker.com/2018/07/04/how-many-of-these-needed-to-make-a-pack-raft/
Hi. I couldnt find any way to contact the owners of this blog, I have seen that you have written extensively about the air beam frames, one of which I just bought (gossamer size small) and I need some advice from a hiker experienced with these things. Which is a rare thing to find, as these were very niche market products with little info left online after their discontinuation. Please email me! Thank you!
Mike
to Steve
I am wondering what is the best way to use it? Inside the pack, or outside?
Do you think system on the zpacks nero would work well? It uses shock cords to hold a foam pad in place… do you think I could possibly use the air beam instead? Or from your experience does that not look suitable?
Do you really need a dedicated sort of “pouch” or sleeve like the green cuben fiber bag on your blog had?
Have you used both the red granite gear one and the yellow gossamer gear one? I bought the gossamer because it looked sturdier and more capable of becoming fully rigid (based on appearances)
Mine is size small and I had to pay an arm and a leg for it since it was really hard to find and I had to order it from eurooe to get it. I spent about 60 bucks on it with the shipping.
I was sort of looking at the gossamer murmur but I dont even like that pack. Right now Im also considering asking them to customize a Zimmerbuilt quickstep to allow for a place to fit the air frame since they do custom work. Lite af looks nice too but is pricey for me let alone adding custom work to it.
Im in this predicament of finding a pack to use with this becuse the guy who was gonna modify one of his packs for me saldt went out of business before I could order 🙁
Thanks for all your help. I might have more questions again sometime.
Michael.
Thank you!
If you had gone through to any of my other pages, eg my finnsheep page you would find my email address. What do you want to know? Cheers, Steve.
The dyneema string will hold it fine whether it’s foam or an inflatable. Forget shock cord. It stretches and fails. I haven’t had my hands on Granite Gear’s yet but I bought one of their Crowns when they were on Massdrop recently as I had a credit. No doubt when it comes I will try it out and do a post about it. Still working on dry back ideas. I have used first the Sitlight and then the GG Airbeam with my GG packs and then with a modified Zpacks Blast I have used for years. Recently I bought a $15 pack for Della from Amazon and did this to it (https://www.theultralighthiker.com/2018/03/24/budget-pack-mods/) . She loves it. PS: It is better I answer these sort of questions on my site so that others can see the answers too. I am just one person you see. Cheers, Steve. PS: Buy a needle, thread and a pair of scissors, then you can do these mods yourself even in the wilderness as you see Della doing here: https://www.theultralighthiker.com/2016/04/21/backpack-repairs/ You are spending too much money: Soon you will be buying a nice little Janome sewing machine and making your own packs: https://www.theultralighthiker.com/2017/07/13/60-diy-ultralight-hiker-ideas/!