I have been (very belatedly) making Della a pair of these using the ‘pattern’ I made my own with some years ago. That post says they weighed 19 grams but that was including the closed cell foam inserts. 13 without! That was in US Size 9.
Della’s in US Women’s Size 6 weigh just 10 grams each (without the string and cord lock – which will add less than a gram). This probably saves around 300 grams’ pack weight as compared with carrying the lightest ‘camp shoes’ available.
I have included some instructions this time so you could make your own if you have moderate sewing skills. I think you could manage well enough with hand sewing if you do not own a machine. I used the 3.6 oz Dyneema fabric available eg from RipstopbytheRoll as it is a bit lighter than the 4.8 oz. Mine have ‘worn’ quite well.
I have sewn hers with the ‘waterproof’ face inside so it does not wear off. I may ‘paint’ a little of the tent floor waterproofing silicone mixture on the soles or some liquid latex you can buy eg from Bunnings (for grip, extra waterproofing and for ‘wear’).
It is not intended you will walk long distances in these shoes. They are for dry feet at the end of the day so that you can (eg) duck out of the tent to attend a call of nature etc. For years (deer hunting) I used to just have wet shoes. This is the lightest option!
Then I used to carry Crocs (or similar) for this purpose (but their open structure did not end sure dry feet anyway (and, 300 grams!) Then I moved to Sealskin Socks (around 80 grams from memory) but they make your feet very sweaty, though they do allow you to wear wet shoes without discomfort.
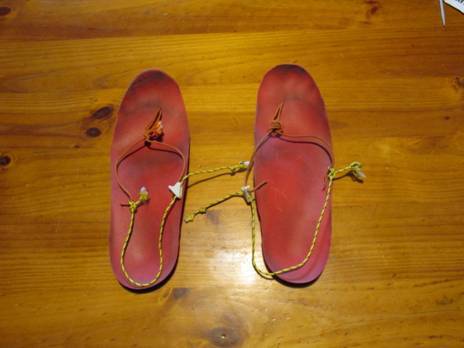
I started experimenting with various DIY options, probably starting with these ultralight thongs:
There were many others, some of which are much simpler than the current dyneema shoes, so you might like to try out some yourself. See links below.
Finally I made the prototype for Della’s shoes.
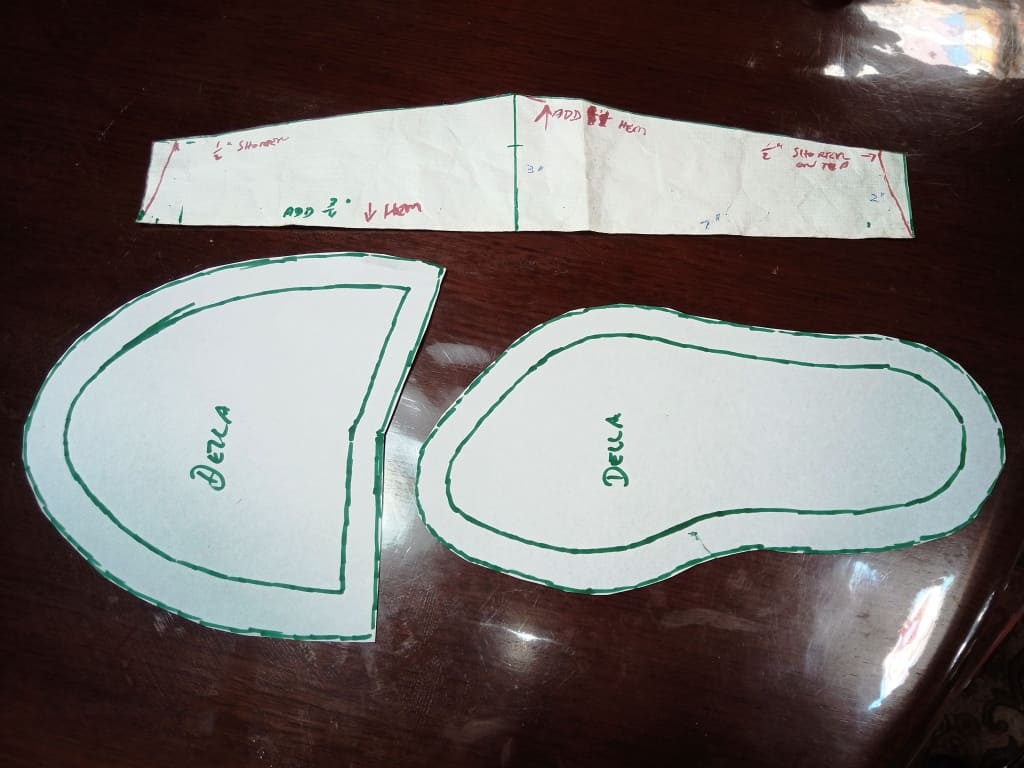
The drawings were done for my own use (I do not claim any artistic skill) but they should also serve as a guide for you. Here are the three pieces for Della’s shoes. Top: heel piece; left: toe piece; right: sole piece.
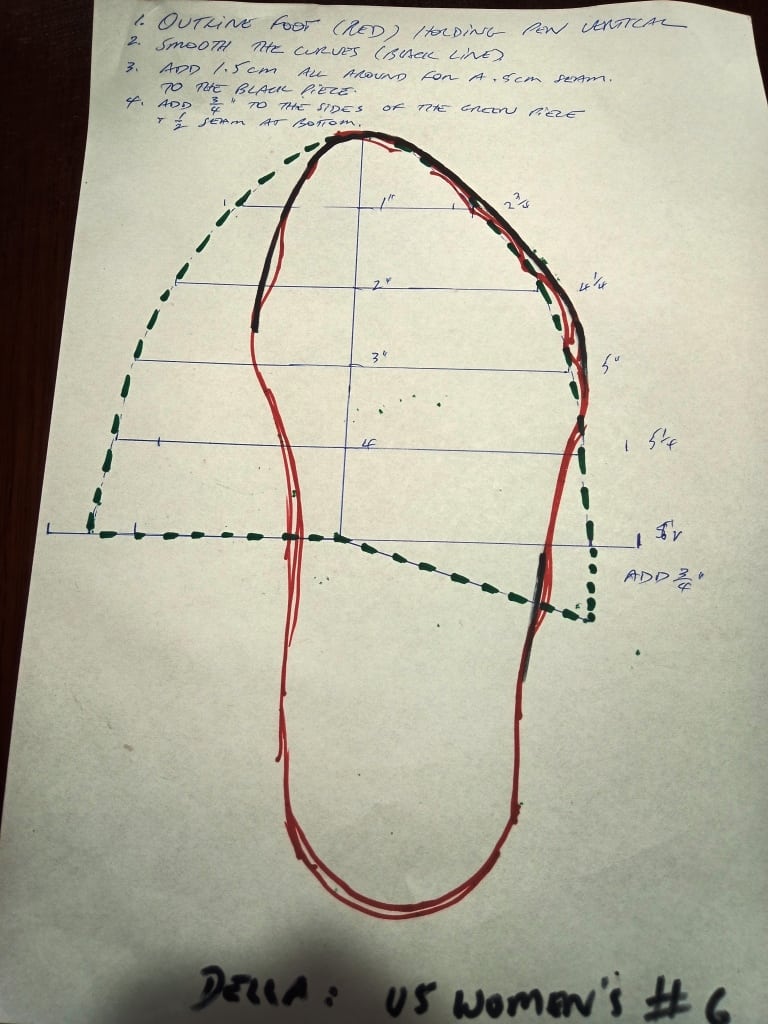
Here are my DIY instructions, For the toe piece measure (from the ground) along the foot starting at the point of the big toe (to the highest point of the arch) and mark foot with Texta every inch. Measure the width over the top of the foot every inch. You can see (for Della’s foot that her foot is 2 3/4″ wide 1″ along from the point of the big toe, then 4 1/4″ 2″ along and so on.
I then smoothed these measurements into a curve (green dotted lines). I have added a triangle 3/4″ longer on one side (as when you sew it it is further around one side of the foot then the other). 1″ would also be fine (or more – you can always trim later). You might need more with humongous clodhoppers!
I then traced these pieces and added the seam allowances as specified to give me the pieces to cut out (above). BTW: The heel piece lacks the seam allowance. I just drew a line 1/2″ wider all the way around it before I cut.
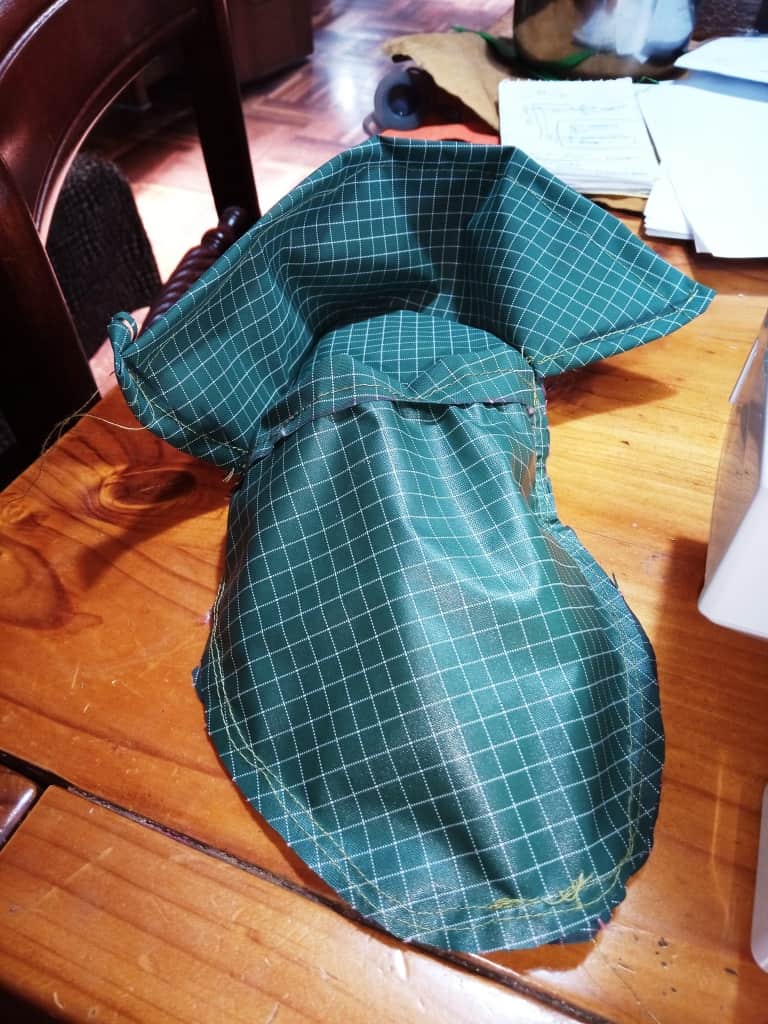
Then I cut the pieces out sewed the two hems on then started sewing them together. I found that if you mark the centre of the big toe point on the toe and sole pieces and started sewing from there it worked best. First you sew one way, then you turn over and sew the other.
If you are using a machine you will have to sew a half inch or so at a time, then with the needle down lift the foot, adjust the material, put the foot down and sew again. It is the only way to get around the curves. I sewed these outside seams twice. They should not come apart. Mine were just single sewn and they have not.
You do the same sort of thing with the heel piece. Mark the centre then begin sewing it to the sole starting there, the turn it over and work out again from the centre in the other direction.
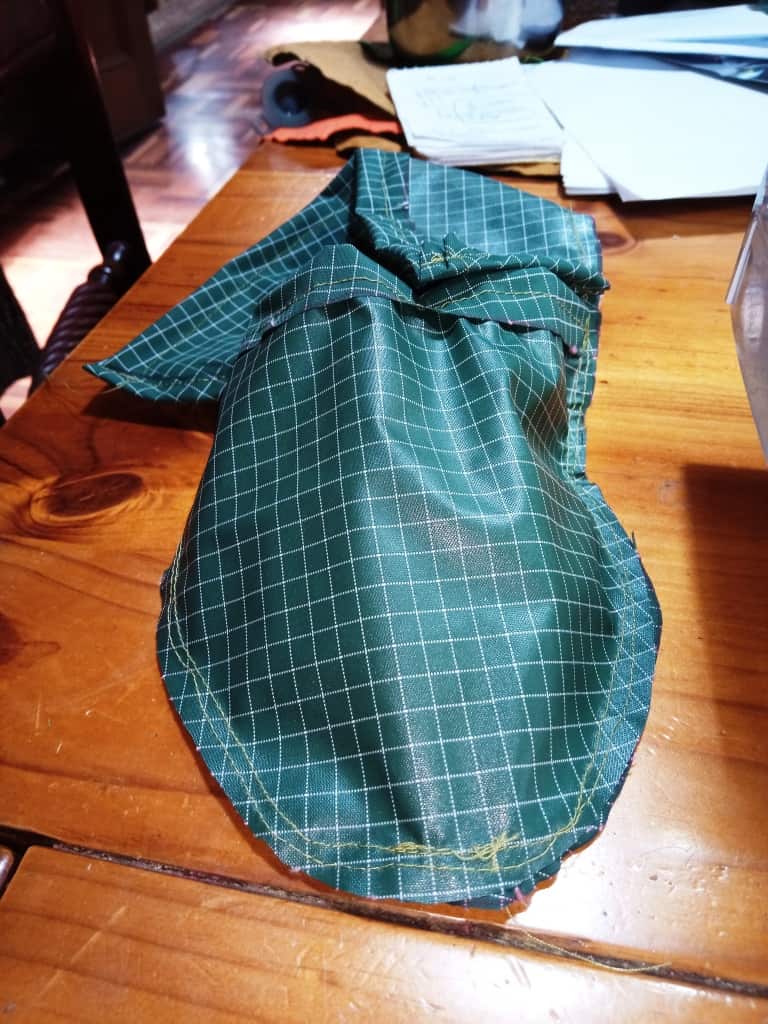
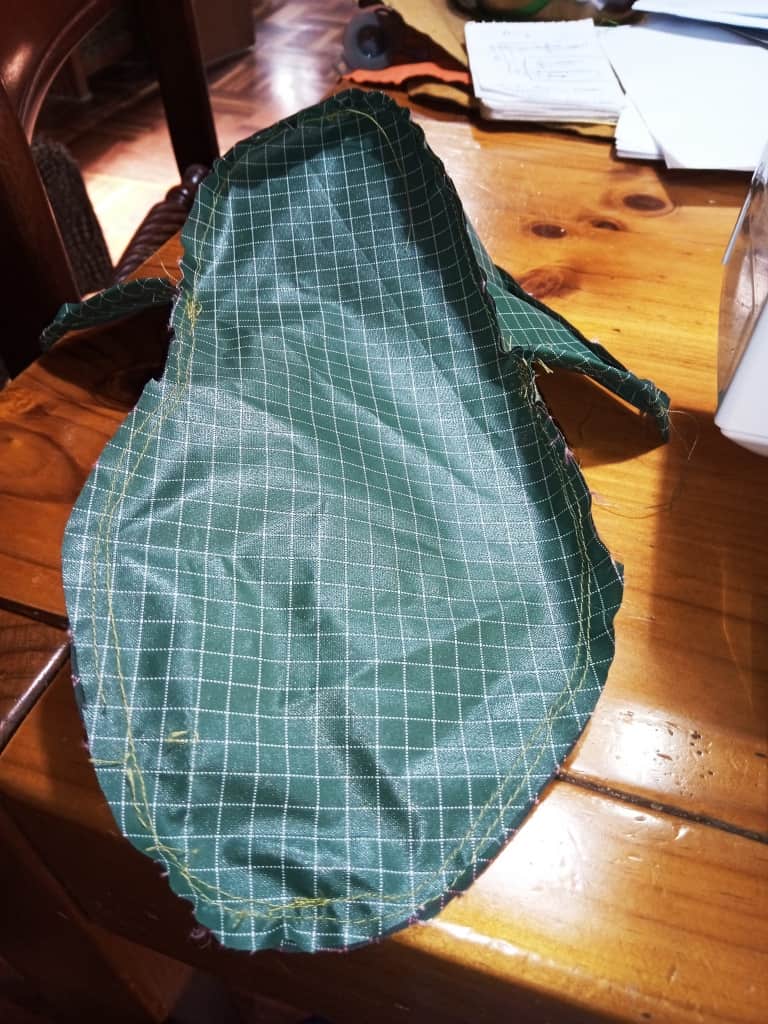
This is what it looks like from the bottom. Of course you have to keep track of which side is inside/outside when you turn the whole shoe inside-out after it has been sewn. Don’t be surprised if you get this wrong a couple of times. That is what stitch unpickers are for!
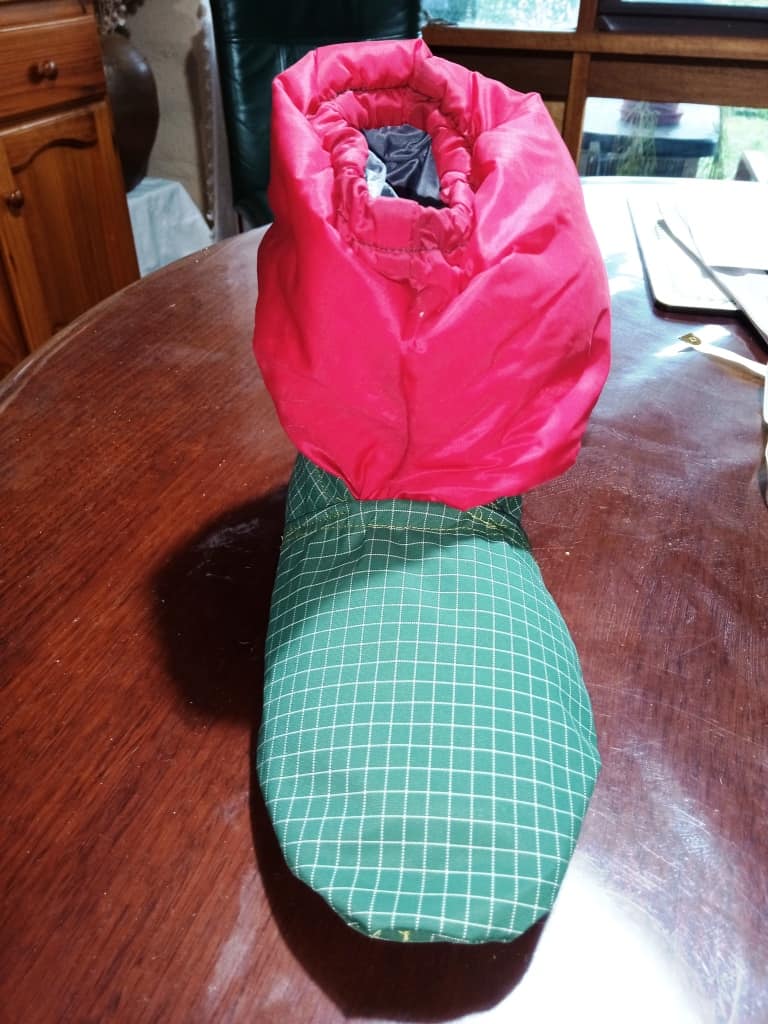
When the heel piece is sewn on you will have to turn the shoe right side out and try the shoe on, tuck the heel piece inside the toe piece then mark where it ‘fits’ so that you can cut it off, hem it, and sew them together. The last bit of sewing is the trickiest.
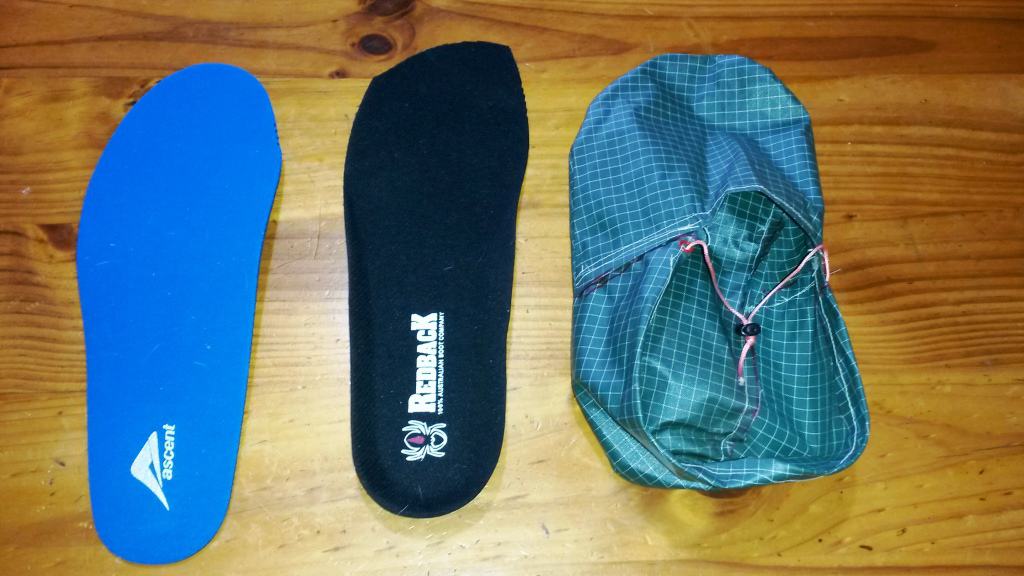
You will notice that I ran a piece of string through the top of the hem in the heel piece which exits via two grommets then joins together with a micro cord lock. It is this piece of string which keeps the shoe on. It is quite satisfactory and comfortable.
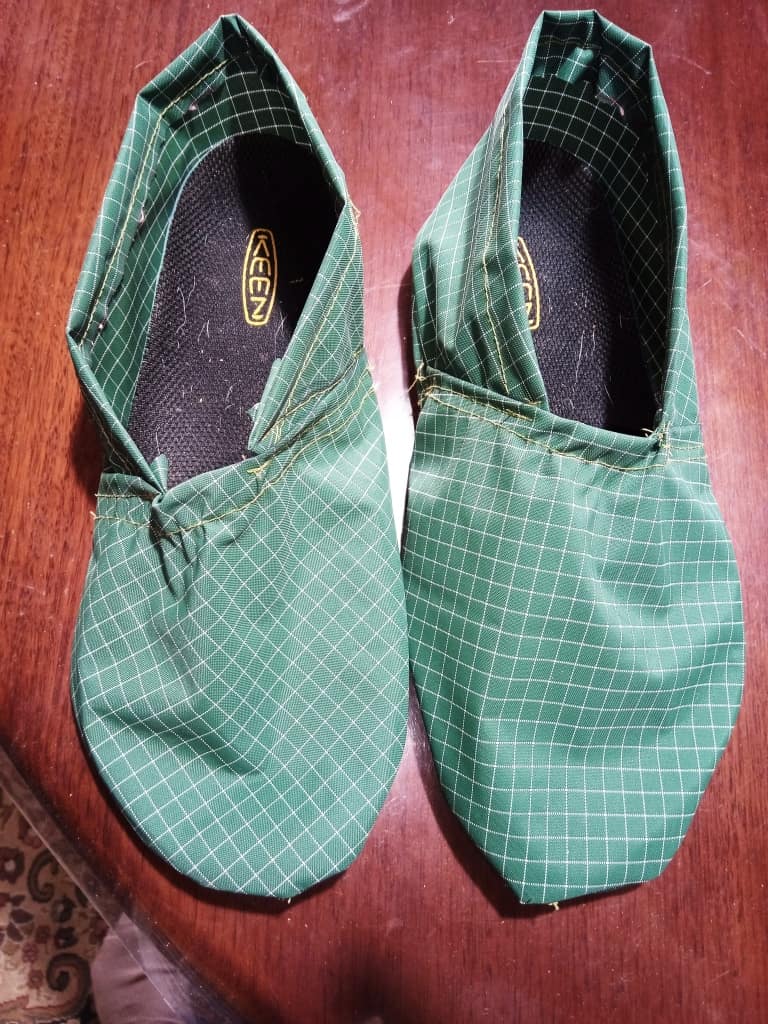
There are no doubt other ways to do this, but this one works. The worst part of it is you are going to have to unpick a half inch of the heel seam in order to fit the grommet. You will need a (fitted) shoe insert. These are Redbacks (available cheaply online. Keens are better. You want ones which do not absorb water.
I usually just use the inserts out of my hiking shoes which because they do not absorb water are easily dried on your camp towel. If this is a bit of a nuisance you can just carry the spare inserts inside the camp shoes. (But, weight!)
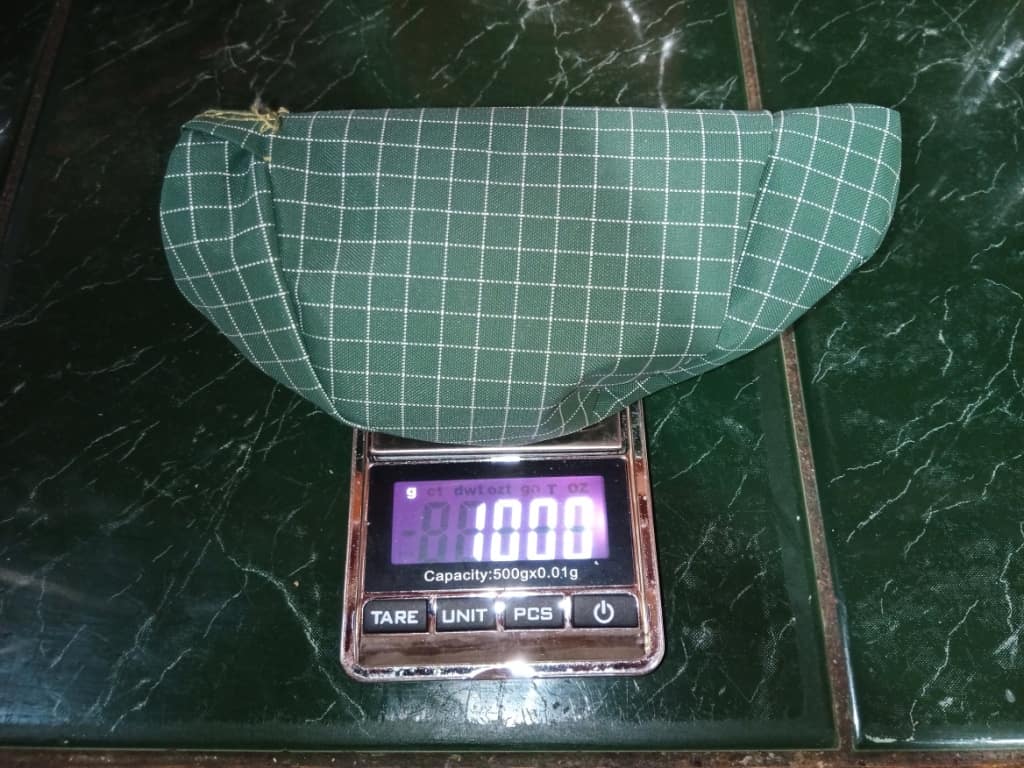
As you can see 10 grams sans string and micro cord lock. At this stage I have only finished one shoe.
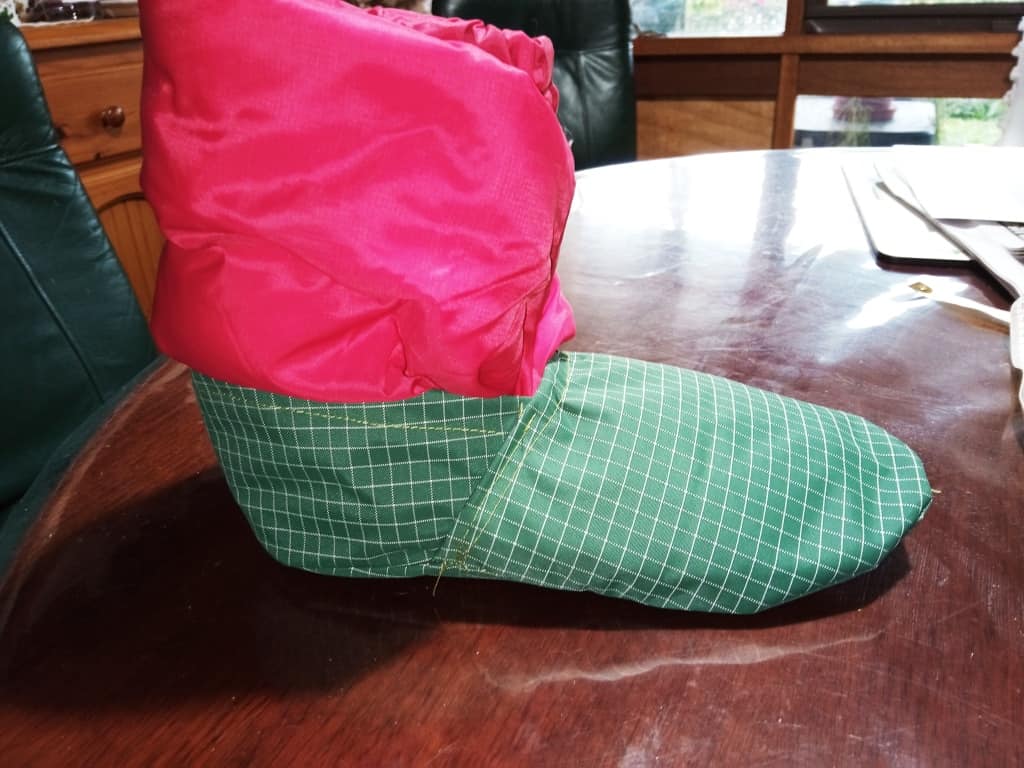
Here is the (more or less) finished shoe. A bit of trimming and neatening to do yet I know.

Della tried it on with her down socks on, then took it off with the sock still onside. This made a good photo op.
It looks quite elegant I think. I hope that this is all clear. Good luck with your own project.
Finished the second one.
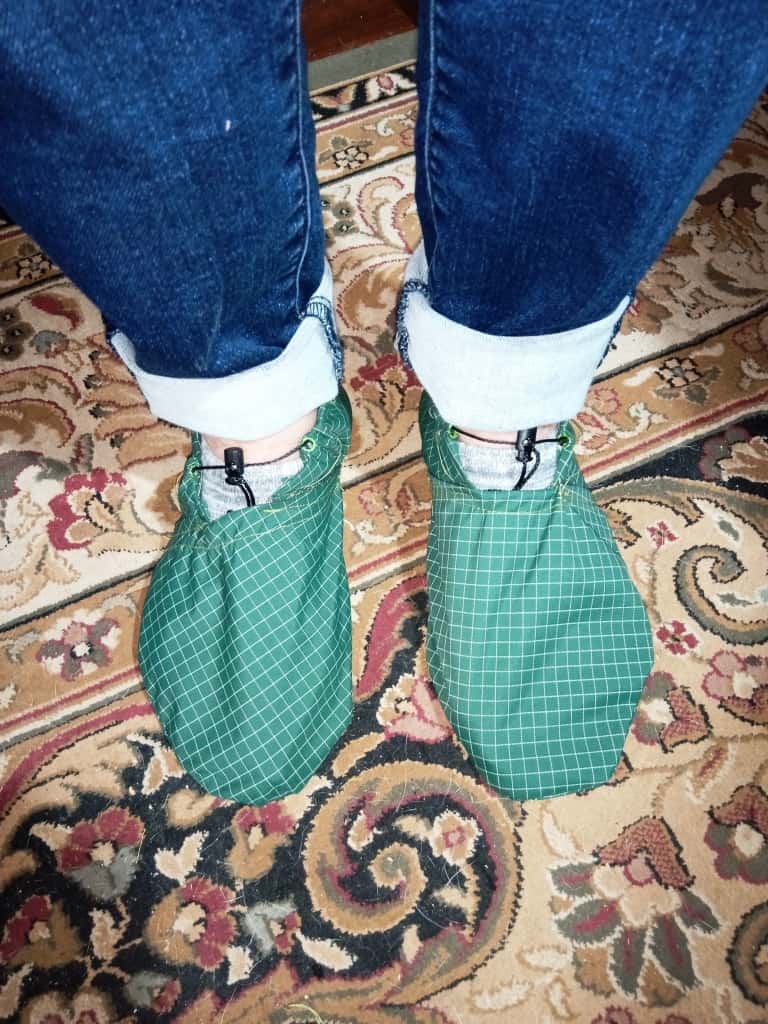
Trying them on – this is Della’s first ‘bespoke’ pair of shoes!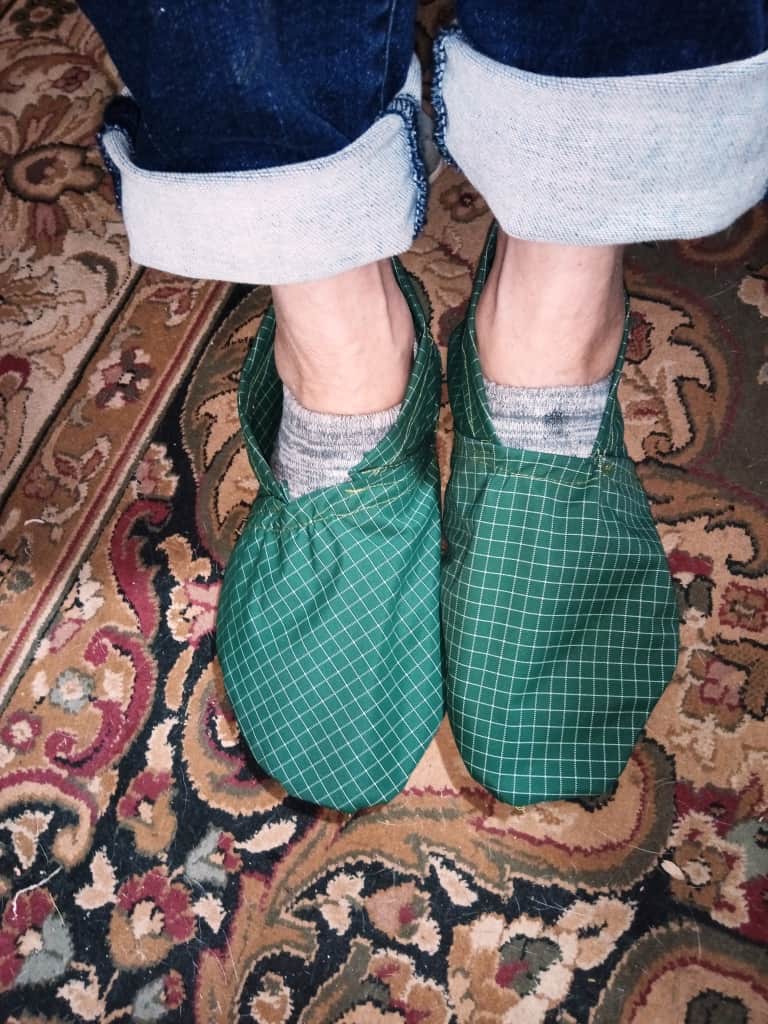
Now with the cord locks done up: perfect! Just like a pair of slippers!
See Also: