Here are his instructions:

“This sketch shows a 10’ x 10’ tarp, a Sioux style 9’ child’s tipi cover, a 15’ diameter round tarp and the ‘ultralight’ shape which is shown in dark lines. The use of material is very efficient and can still be used as a flat tarp for A-frame or lean-to pitches.
Fabrication (2) strips of 62-65” wide silnylon by 16’ long and flat-felled seamed together.
Hem the flat side of the tarp first with a 1/2″ hem single stitched then layout the 2′-2″ offset for the center. Watch the direction of the flat-felled seam and hem to shed rain.
Mark well the center point of the radius with a marker and make it very visible. You will need that spot later to install the reinforcing material and ties for the cap.
From the center draw the 7′-7 1/2″ radius. Do not add for the hem. The 7′-7 1/2″ radius is the cut line and where the chords are measured.
Next following the sketch above, layout the chord dimensions of 5′-6 1/2″ along the radius line to make sure it fits. Make those points equal whatever dimension you get. Mark these points well before cutting the radius by using safety pins that will not fall out while hemming the tarp.
Hem all edges and add (12) 5/8” grosgrain tie-outs, 2 yellow and 6 black and 4 grey. Place the two yellow tie-outs on the center line of the tarp for a quick reference when pitching the tarp. Make the six main tie-outs black and the intermediate tie-outs grey. Make the main tie-outs any contrasting color that will stand out in low light.
Cut the grosgrain ribbons 5 1/2” long, fold in half and bar tack them to the hem. To locate the intermediate tie-outs just fold the tarp from tie-out to tie-out on the chord and mark the midpoint.
The center of the tarp from where the radius was drawn needs a reinforced area for the center pole. The location of the center pole in the pitch is key for taut sides.

Make (1) 12” diameter and (1) 15” diameter piece of silnylon for each side. Stitch to tarp with bar tacks 3/4” long in an 8 spoked radial pattern 3/4″ away from the edge. Sew the 12” pieces in first, top and bottom, at the same time.
Add the 15” circle pattern top and bottom, and rotate to miss the 12” circle pattern. Stitch through all 5 layers at the same time. Do not stitch along outside edge, that will just perforate the main tarp, leak and tear – use the bar tacks. Plenty strong.

Cut (1) 40” long 5/8” grosgrain tie for the top side and (1) 40″ long 5/8” grosgrain tie for the bottom side. Bar tack 1 1/2” long loops on each end of the ties which will prevent pulling the ribbon through the knot when tying off.
Sew both ties centered on the tarp, top and bottom, with two bar tacks at the same time. Leave a 3/4″ space between the tacks for a rope or carabiner. Make the top tie yellow for easy identification, and the bottom tie gray or black.
Having the looped ends on the inside of the tent gives tie off places to raise the sides for more air flow, hang a candle lantern, flashlight, bug net . . . .

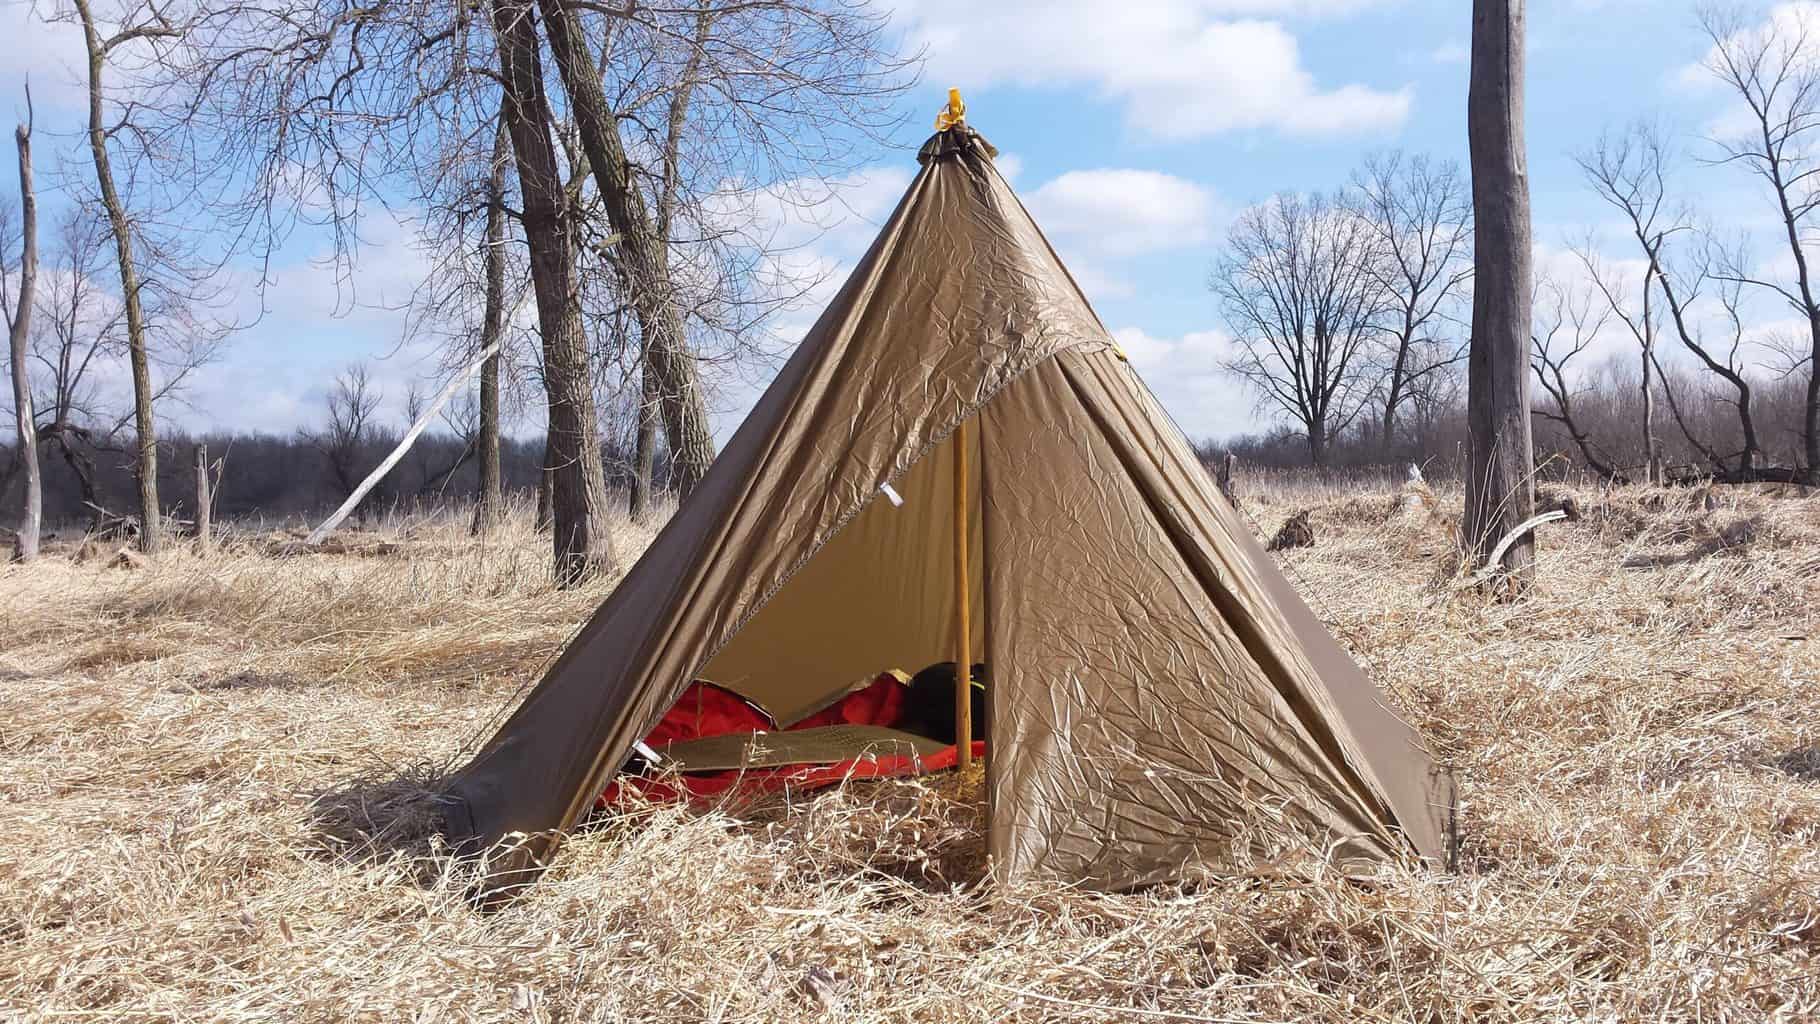
Finished top cap shown with center pole tied in. First wrap on the pole is a half-hitch, then wrap and finish with a bow. A black rubber crutch tip on the top of the staff keeps the tie from running off and also helps to protect the tarp. Rounding off the edge and grooving the top of the hiking staff will work too.

To pitch the tipi create a pentagon first then insert the pole. Use the black tie-outs for the tipi shape.
A simpler way is to anchor the rear 2 tie-outs, tie in the pole, raise the tarp, then pull down to the front 2 entrance tie-outs and stake. Finish by staking out the remaining 2 sides. Easy and no math!
Easton® makes aluminum tent poles that can be made up to provide a collapsible center pole to carry on planes, trains and automobiles. Get (3) .742” diameter poles x 26” long – (2) with inserts, (1) without an insert, 6 feet of shock chord and (2) shock cord end caps. Cut all the poles to make it a 6 foot overall length assembled. Add 3/4” rubber crutch tips to both ends to complete. Weight 12.5 ozs.
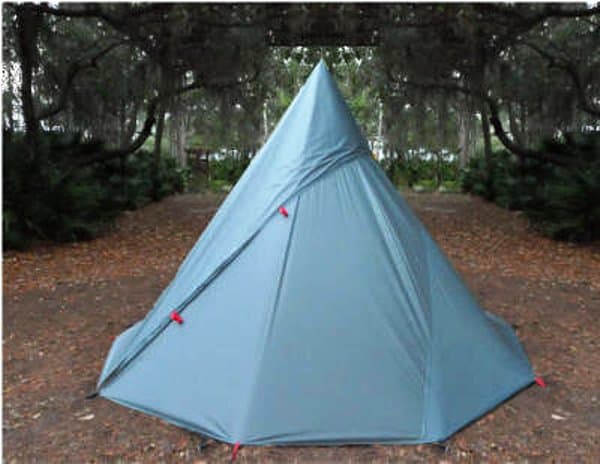
The combination of using a modified form of a circular tipi cover along with the 5-sided layout worked out really well. This is one handy tarp.
For those that might want a larger tipi follow the dimensions charted below. Weights are based on 1.3 oz/yd silnylon. All fabrication and pitching instructions are the same as the 9’ tipi tarp.

Fabrication

Here is a sketch of the material layout for the 12’ tipi tarp. 21 yards total. Cut (3) strips at 21 feet long and join with flat felled seams. The more I use this tipi the more I like it. This 12′ tipi is a great all around size. Very roomy.
The 14′ tipi will require 30 yards total. Cut (3) strips at 27 feet long and one at 9 feet long. Cut the 9 footer in half lengthwise and it will fill in the bottom of the tarp.”
Nick adds this to his instructions:
Here is a list of some observations which may be useful.
Condensation – This is a single wall, non-breathable tent that can be closed up – it will condensate. It can also snow on the inside from frost in the cold. Attention to venting will alleviate some of this and some of it is unavoidable.
Suffocation Hazard – Using a non-breathable tent can be risky – especially in the snow and cold. A buildup of CO2 (carbon dioxide) or CO (carbon monoxide) in a sealed space can be fatal. Be aware of venting– keep fresh air flowing at all times.
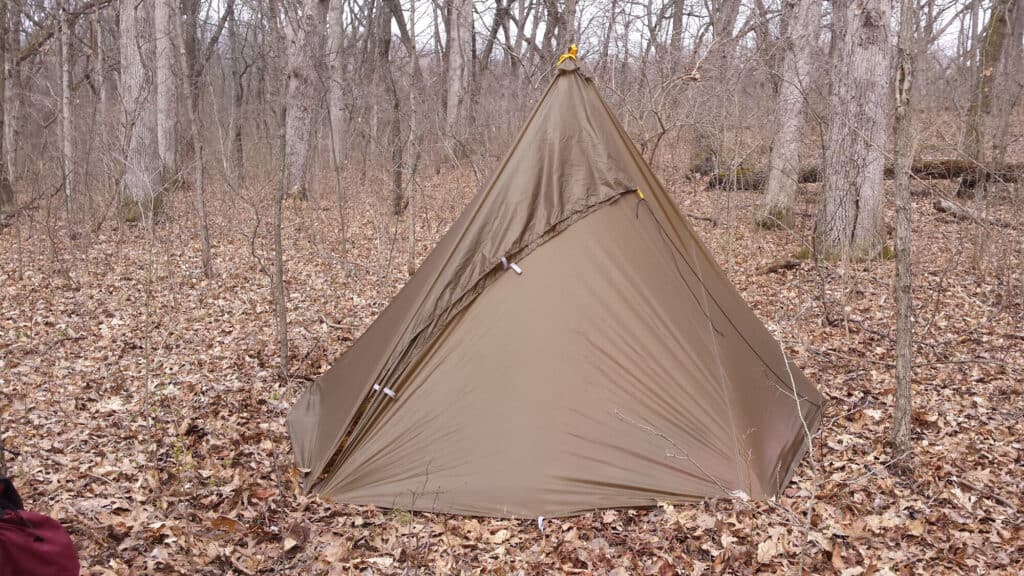
Pouring rain – With the flap tied over to one side this is an exceptionally rain proof structure. The steep sides really help shed water and the round edge between the staked tie-outs lay down nicely for a good seal. With no floor it’s important to setup as high and dry as you can get.
High winds – This tipi sure did shine in that department. It took 25 mph winds with 50 mph gusts. That was a welcome result. Obviously all anchors need to be dependable for that duty. For more security stake the center pole straight down from the inside ties at the top of the tarp to a ground stake.
Heat – With an outside temperature of 30°F on a bright and sunny day, the inside of the closed tipi was 80°F. Wow. Open the door. Pull the rear two stakes out and use guylines to float the tarp off the ground for more air flow.
Setup on rock or other hard ground – That is the beauty of being a flat tarp. You can always revert to an A-frame, lean-to or any other attempt to ward off wind, rain, snow or cold.’
In a PM to me he says: “Many years of experimenting went into this. Cutting the shape reduces weight. You can set up a rectangular tarp as well but not as fast or efficient as with this design.
See Also: