I think this is something you should have a try at at least once. I always carry a cigarette ligher even though I have not smoked for over thirty years. It is only a few grams and comes in handy again and again. One day having a cigarette lighter may even save your life. Anyway I for one would never be without one. If you don’t bother then you clearly value your life as worth at most two bucks – or the cost of a cheap lighter! I hope you don’t find out that it is true!
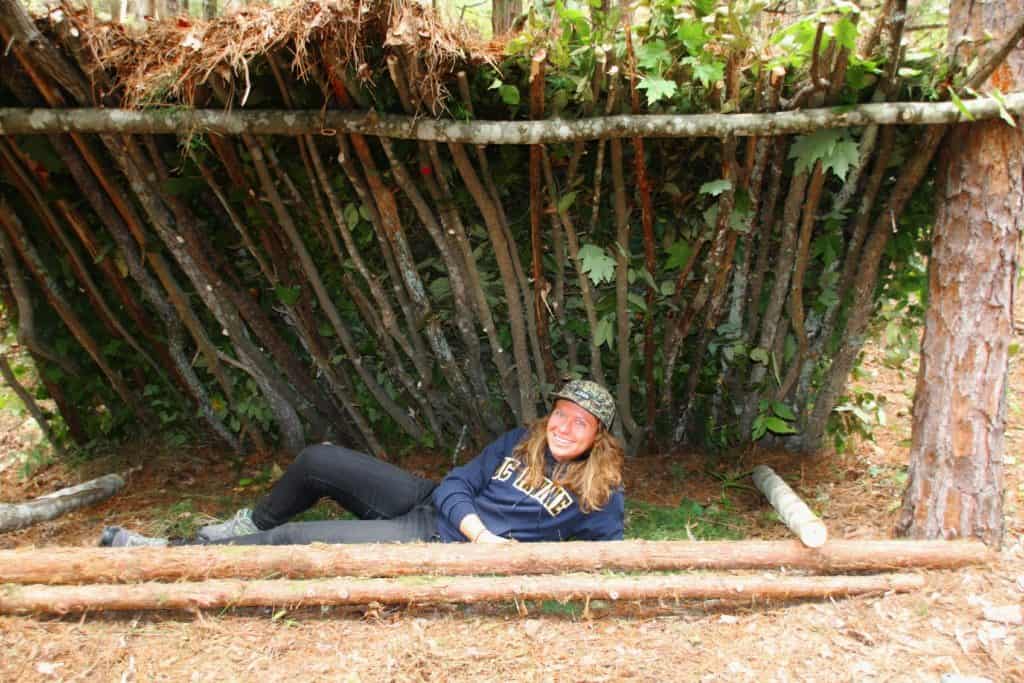
A simple debris hut is not such a trial to construct and you should at least give it a go. It is a skill which also may save you one day. Anyway if you ever find yourself in such a stressful situation you will be much more relaxed if you already have the confidence to be able to do such things as make a simple shelter and light a fire in trying circumstances.
Aboriginals here in Australia often used to construct just a simple windbreak if the weather wasn’t going to be too bleak, increasing the sophistication of the shelter as need increased – which is pretty sound practice. Most of my best school friends at my small country primary school in the 1950s were ‘native’ kids who taught me a lot about the bush – bush tucker, tracking and etc.
I still remember one memorable occasion when we constructed together a truly huge ‘igloo’ type shelter almost 10’/3 metres high out of (woven) fallen branches and tussocks. What a wonderful cubby house it was! This was knowledge which country aboriginal kids still had then (before Whitlam destroyed their culture with grog and welfare – and they are not the only ones) but I doubt many young ones today still have these skills, worse luck.
A simple lean-to will suffice for most purposes as it will keep the rain and wind away and give some protection for your fire.
It is easy enough also to fill in the gaps between the tree and the lean-to to provide some side shelter. (NB: Forked sticks (and weaving) can often be used if tying is not an option). A ‘bough bed’ needs to be much deeper than this – approx 18″/40 cm to get you away from the cold of the ground and to obtain a comfy night’s sleep. Similarly if you want to ‘burrow in’ for warmth you will need a like covering depth (probably more) over the top of yourself.
Sometimes you will even just simply find a ‘roof beam’ in the form of a broken limb sitting with one end hung up in the tree and the other on the ground or a log fall high up to which you can simply add ‘rafters’ until you have enough structure to support whatever (debris) ‘roofing’ you care to add.
So long as you construct a lee under which the rain will not fall and where the worst excesses of a cold wind is excluded it will improve your comfort enormously. You do not have to be an expert on thatching. Just adding an ever deeper layer of whatever (really!) will eventually result in a pretty waterproof roof. Surely you have sheltered under the lee of a wild cherry or similar tree during a sudden squall enough times to realise that this is the case?
You are better protected if the weather is excluded from more than a single direction though. Even though the wind hardly ever swings around completely, it often does shift by 45-90 degrees (sometimes even 180) during he course of a night so that a little more thought to your shelter will make you very much safer and more comfortable.
A three-legged lean-to will exclude the weather from more than 270 degrees so that you can be very snug indeed. Here in Southern Australia (well most places) if you face the opening towards the east you will be pretty right, as weather almost always approaches from a Westerly direction. In something like a thousand nights sleeping in one I have only been ‘smoked out’ once or twice.
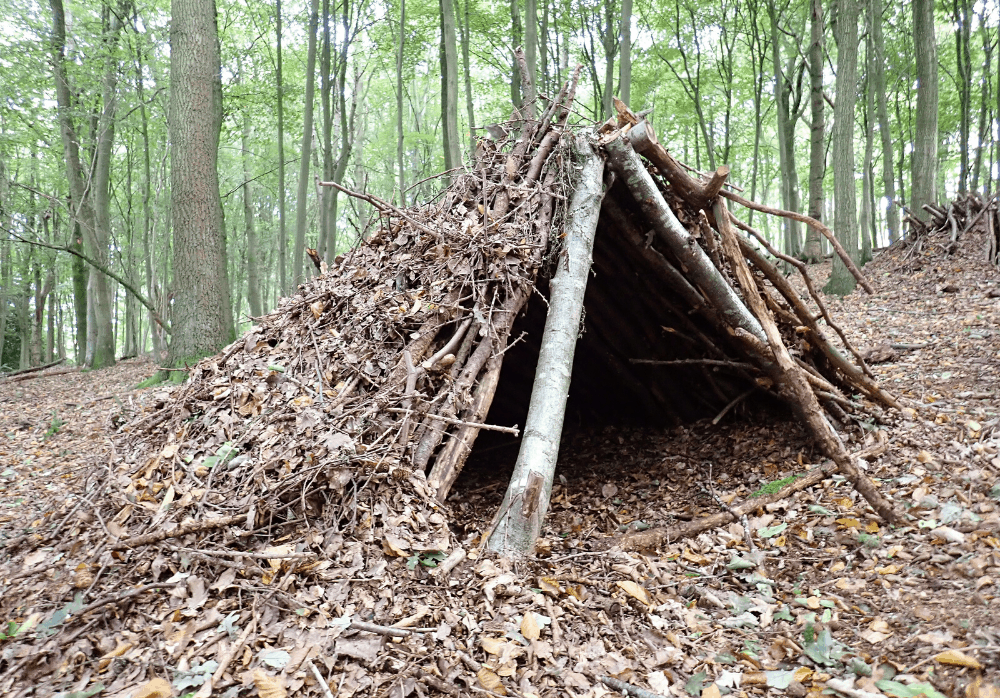
A triangular shelter like this is better than a lean-to. It is better still to make the two front poles longer than in the photo so they lean forward. This gives better all-weather protection and more space (especially for storing dry firewood) with little extra effort.
It is also ridiculously easy to construct, and practice in doing so might well begin the foundation of a more elaborate wilderness hut in the future. If you carry a piece of black plastic film such as builders use to waterproof the underside of concrete (available in very wide rolls – 12’/3.6 metres from most hardware stores) then the expenditure of probably less than $20 will provide enough for a very dry and comfy shelter indeed, but weigh little. Better than carrying a tent really.
If you place the sheeting over the rafters and then add debris you will have a shelter quite quickly which will last for months or even years for just a couple of hours work. Many backpack hunters do this instead of carrying a tent. You can use another piece of the plastic to make a clean dry floor too, indeed the off-cuts from a triangular shelter such as I have used for decades.
They then have a series of fairly permanent commodious camps at various locations where they are in the habit of hunting without any danger anyone will steal them – indeed they blend into the background so well most people would not even notice them! Often you are able to shoot a deer from them without even ‘leaving home’ as the quarry are so used to their presence.
Clearly much the same thing applies to the dark olive colour of my Deer Hunters, Siligloo and Pocket Poncho tents etc too as I have often had this experienced when inhabiting them – whilst packrafting the upper Wonnangatta for example. I will be making my Grey Flyer in such a colour soon in a lighter material.
It is not hard to make a shelter big enough for two or even four people in a couple of hours. The plastic ensures perfect waterproofness and the debris layer protects the plastic from weather damage. You can always store some dry firewood inside too against your next trip which is handy when you arrive in bad weather.
You begin with the three ridge poles which if they are all forked will just lock together though you may have to scoop small holes for their butts to stop them sliding out. Otherwise they will have to be lashed eg with cord/vine etc.
Then you place ‘rafters against the ridge poles say about 6″/15 cm apart. Break these off so that they do not protrude past the ridge poles but instead lie against it so that there are no sharp pointy ends to poke holes in the plastic.
Then lay the plastic over. The long ridge pole will be approximately 12′ long (the width of the plastic). The two front poles will beat least 8’ /2.4 metres long (so you will need a length of plastic at least 16’/4.8 metres). The three poles should be 2″/5cm in diameter and the ‘rafters at least 1″/2.5cm.
You can then cut off the excess ‘triangles which will be lying on the ground at the rear outer and use them as flooring. You will then cover the outer first with many more sticks (or rafters) then with whatever debris you can find (to create weight). In the Australian bush bark is plentiful as many of our trees are self shedding or self pruning. Sometimes there are huge sheets of it lying about.
You want a fair weight (but not enough to break the ridge poles) so the whole thing will stay in place in winds which occur between your visits. As said before, this structure could persist and be used as a hunting camp for years. The shelter is large enough for four people and their gear – plus a couple of small dogs!
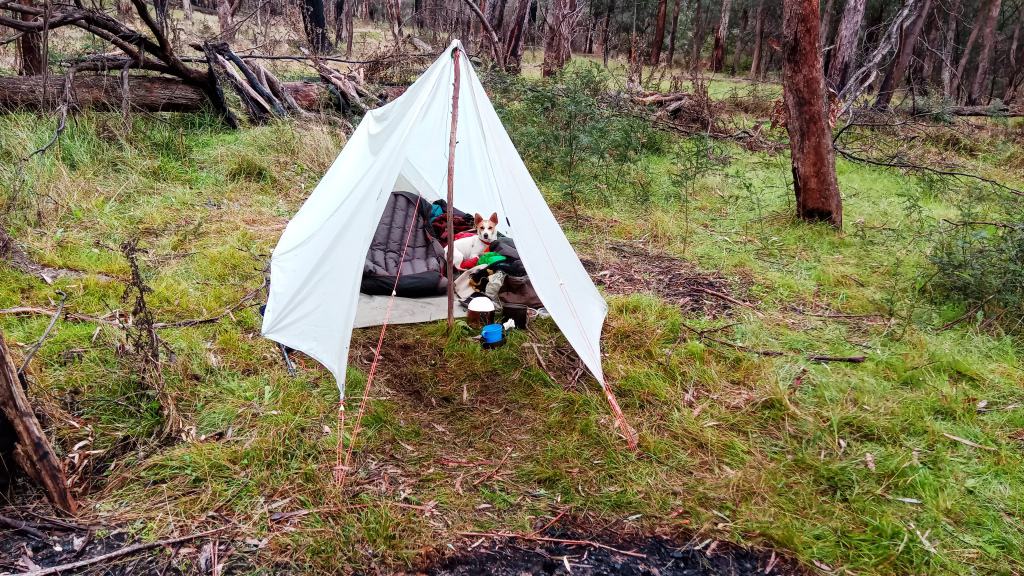
If you have been following my triangular ‘fire shelters’ which have now morphed into a wonderful lightweight tent which doubles as a hammock tarp (see my prototype the Grey Flyer).
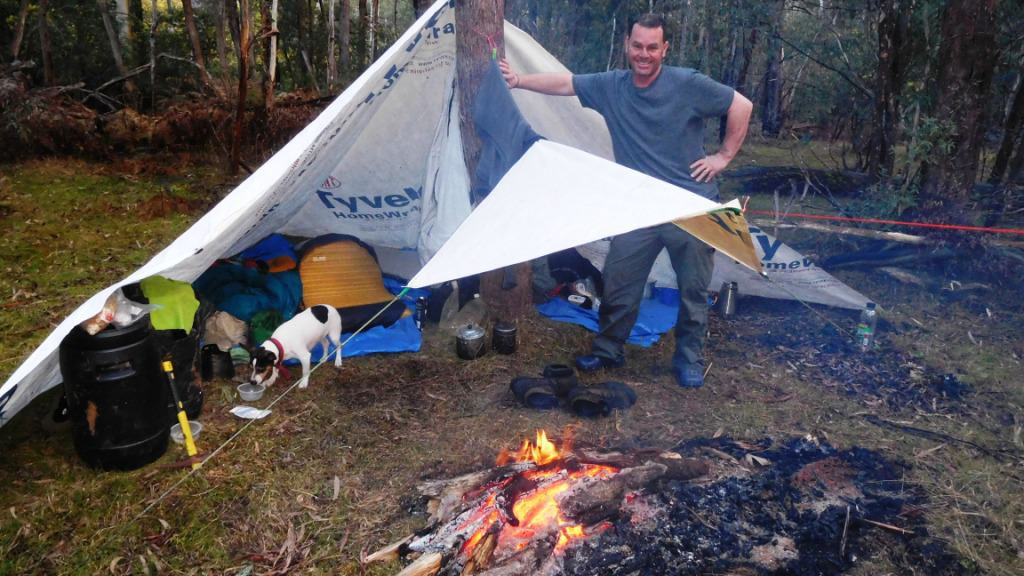
Here is a simple Tyvek Fire Shelter you can make yourself weighing approximately 600 grams..
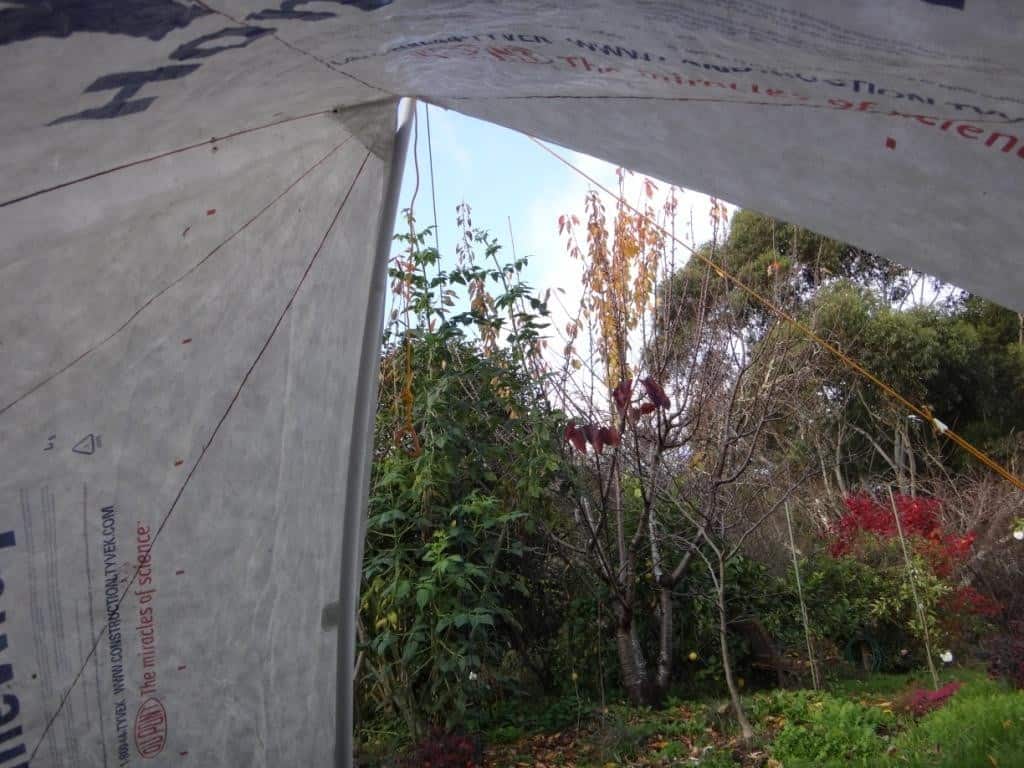
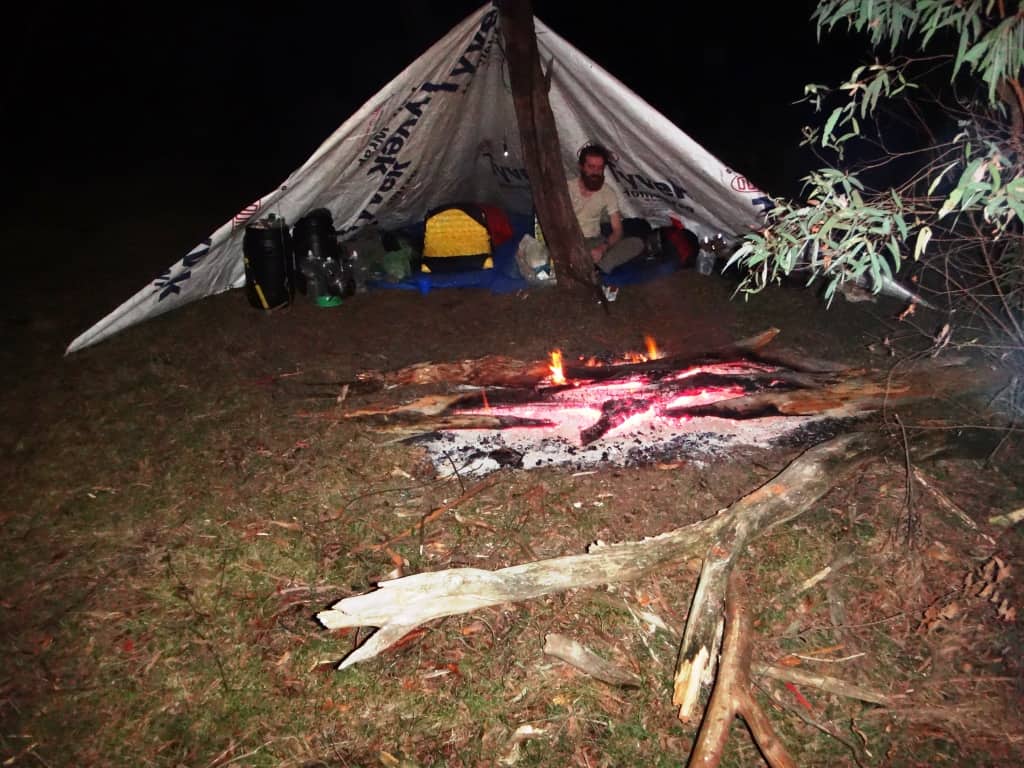
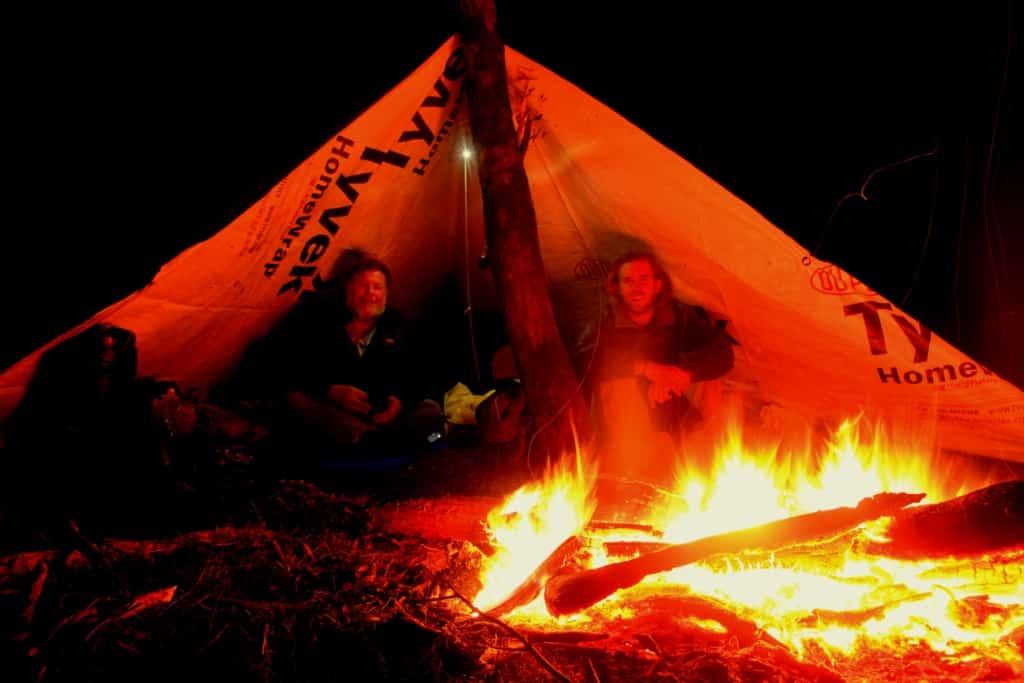
I have been sleeping in simple triangular ‘fire shelters’ of one kind or another for fifty years (hundreds and hundreds of nights!) Made lots of them out of cheap blue poly tarps. Here is my son-in-law Matt in one such. See eg An Open Shelter:
And here is my friend Steve Hucheson in another. See Fire Tent: (Instructions are included in the two posts)
A Fire Umbrella is a good method of preventing your fire from going out in the rain. Here is another friend Steve Collins demonstrating that:
The Grey Flyer Tent. The ‘roof’ plus guys and tie-outs weighs 310 grams and will weigh only 200 grams in .77oz/yd2 fabric!
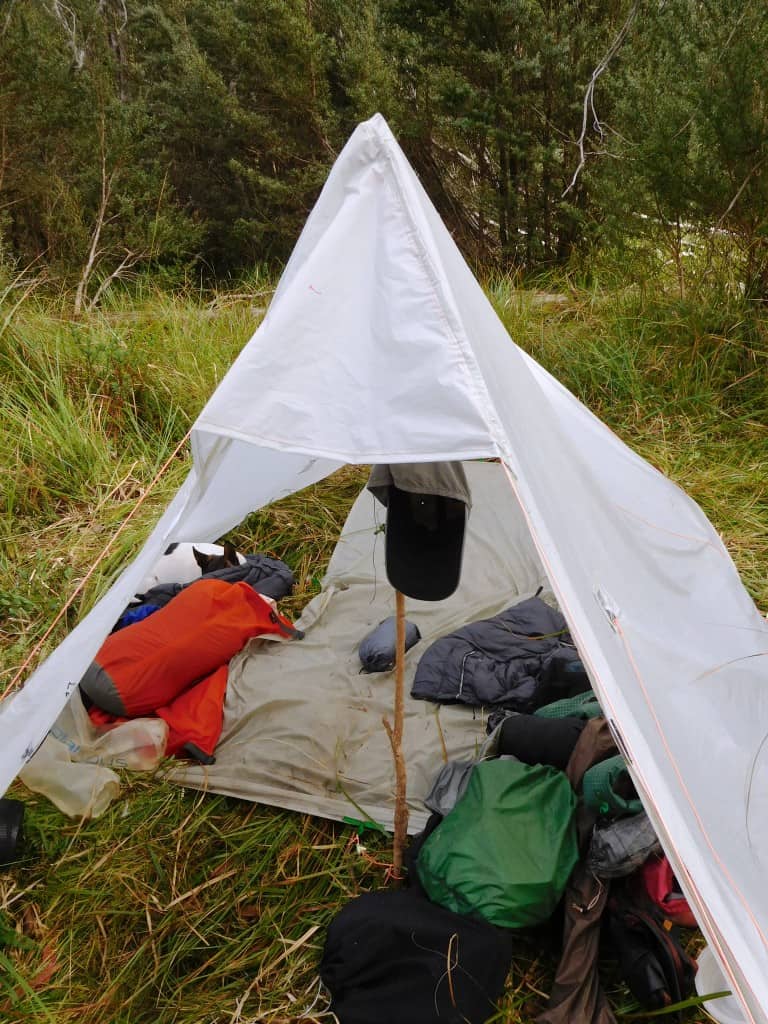
Here it is pitched (rather poorly) a little wider.
A wigwam is a (more elaborate) four-legged shelter like this.
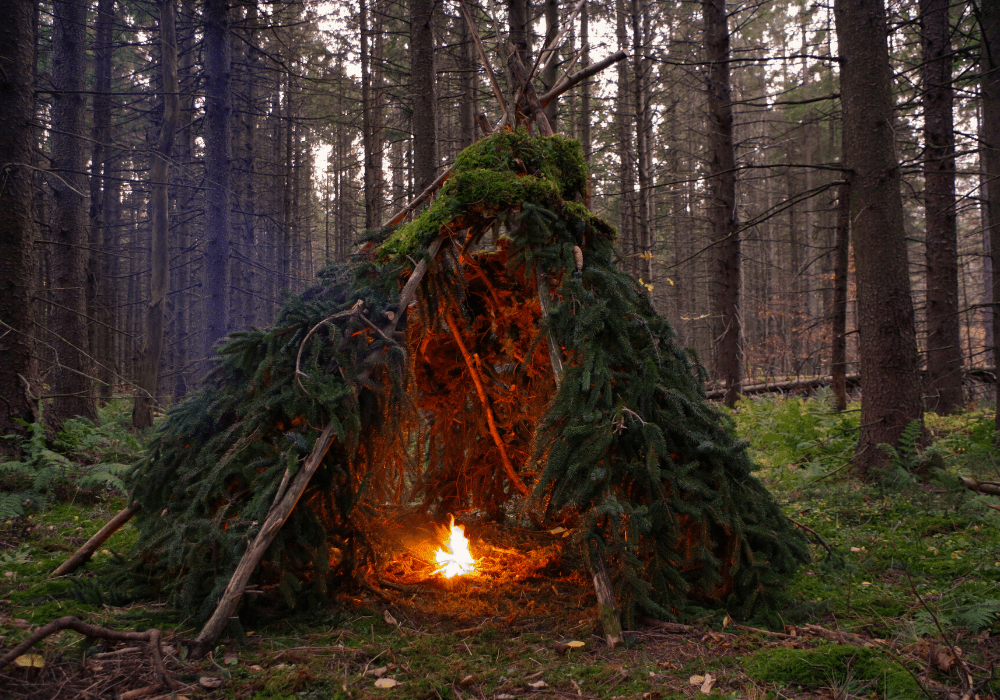
NB: You have to be very careful with your fire when inhabiting a debris hut. Always have some water on hand (remember urine can be useful!) in case a spark leaps back onto it. Act quickly. You will get better at choosing your wood more carefully and how you put it on. I am assuming you are not foolish enough to place any stones anywhere near your fire. Those things can explode fiercely and even take out your eye!
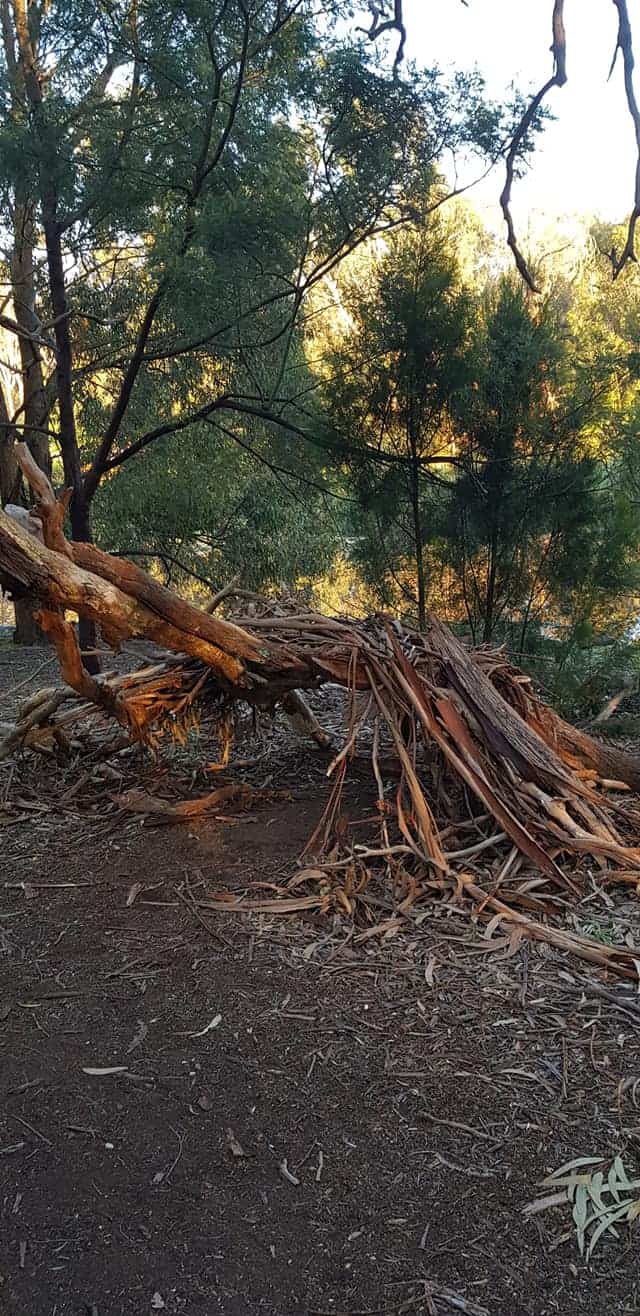
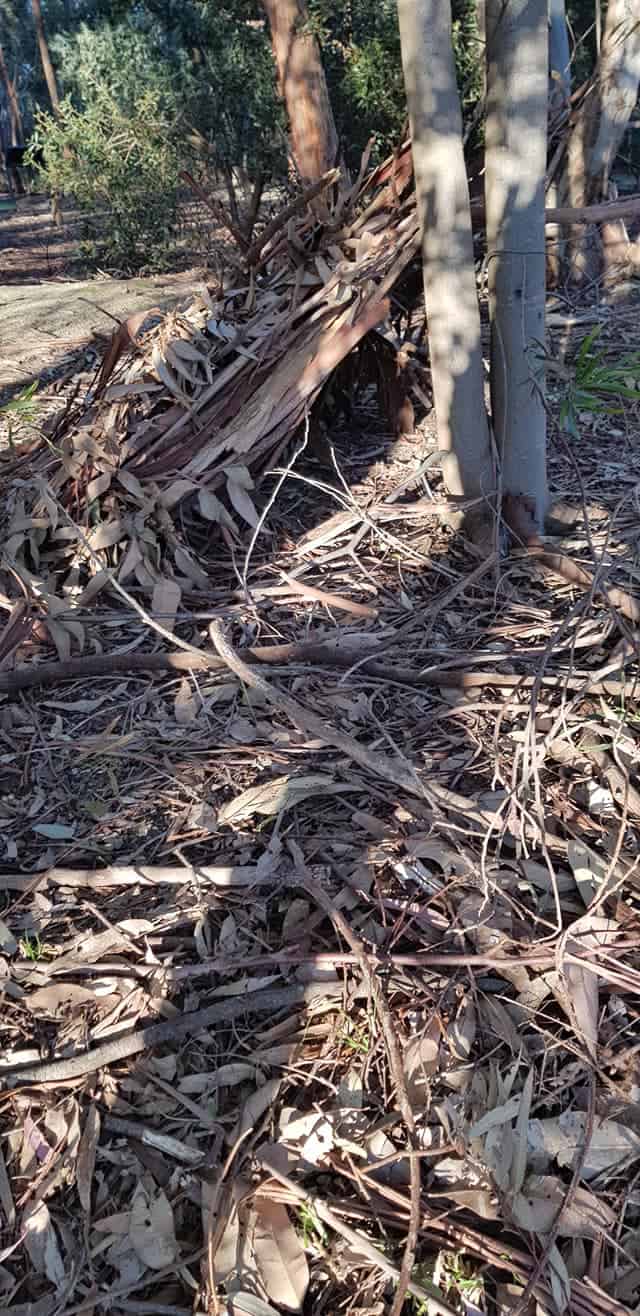
PS: It’s great to be out and about in the bush and see that kids have been practicing this vital skill:

See Also:
You are right about cigarette lighters. Going into the woods without one is insane.
Exactly. Cheers Steve.