You should read this post as an accompaniment to the posts Wilderness Hut and Debris Hut. There just can’t be too many small wilderness shelters out there in the bush. Indeed there are drastically too few – but the situation is always improving, thanks to the ingenuity and industry of many hunters fishermen, cross country skiers etc.
They are not just life-savers in the event of bad weather but they add so much to the amenity of the wilderness experience particularly as they provide a safe opportunity to take the growing family along on your modest backcountry adventures. They do not have to be elaborate or expensive. This post is not an ‘instructable’ but I hope can showcase some of the many methods you could use to construct them.
I suggest you can spend less than $500 to produce a really excellent piece of bush architecture. Most people spend that much on their pack or tent! I guess it will take two people at most two relaxing days to construct but provide them with a great facility and pleasure for many years in the future.
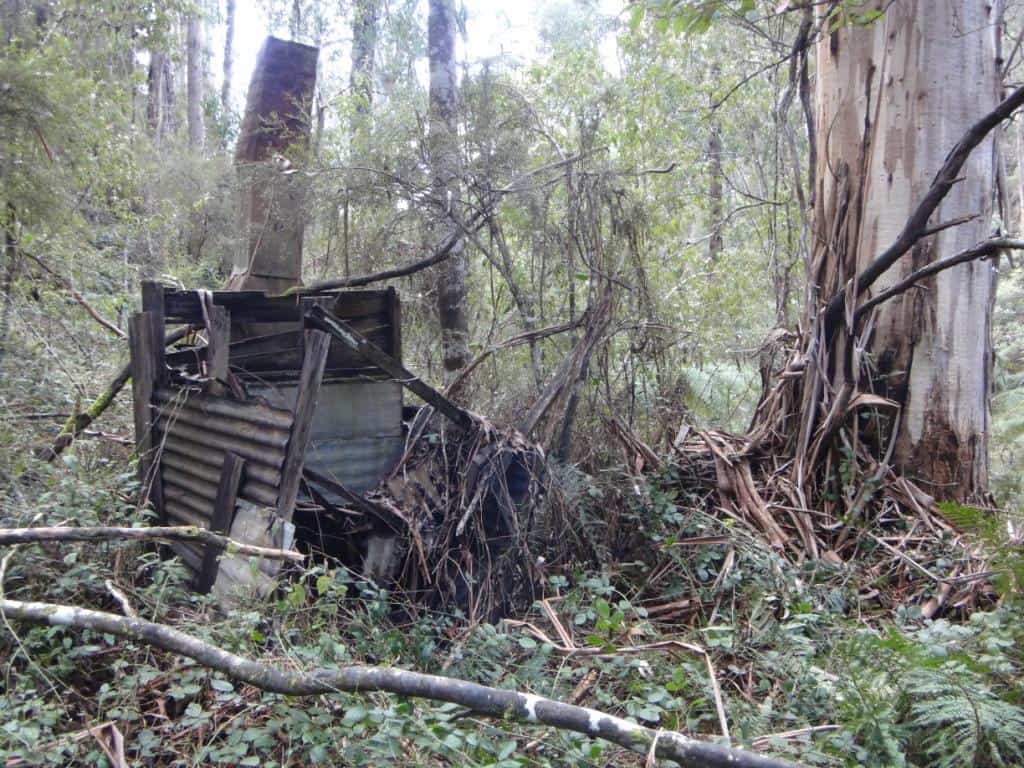
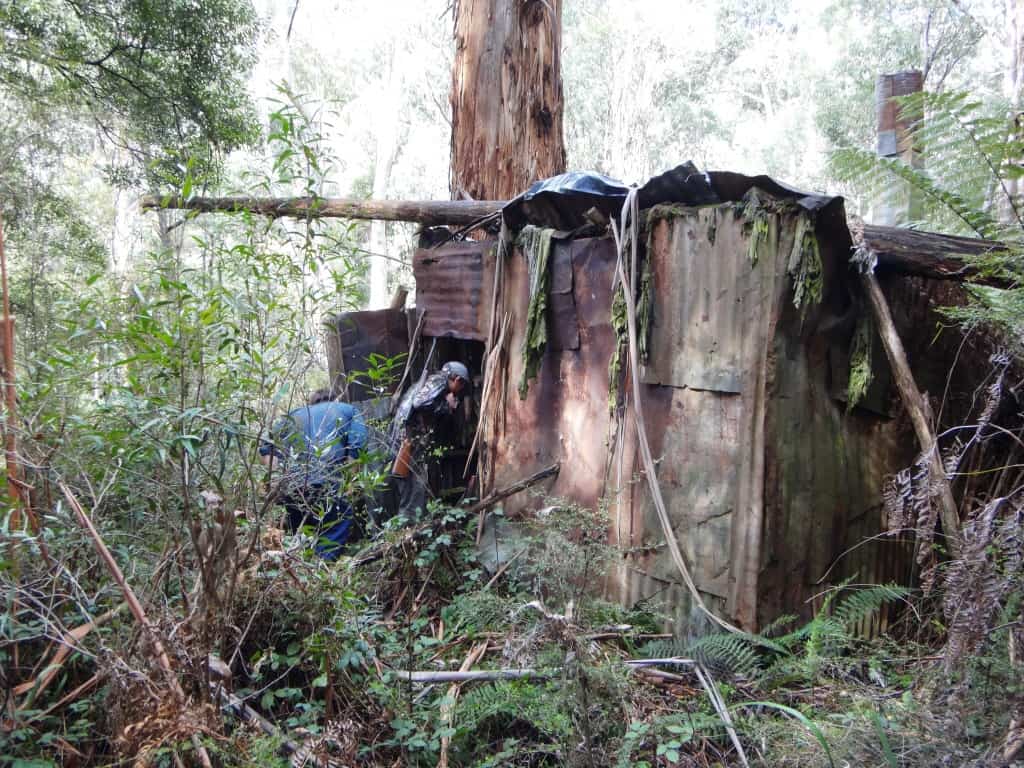
An example from days gone by. This hut provided shelter for over forty years – and would have lasted longer with a little more maintenance. I can remember sheltering in it in the 1980s and thawing out there in front of a nice toasty fire on a freezing winter’s day deep in the Victorian mountains far from any roads.

Can I begin with a simple remembrance (from an old friend of mine) of such a cheap ‘snow hut’ as he constructed many years ago:
“I read your (Debris) hut post with interest. I too have liked the idea of them and think that more would be better. They represent no real harm and can give little offence when they are so hard to find. I would like to see primitive respite shelters dotted along some of our treacherous alpine ridge walks where sudden changes of weather can easily threaten lives.
I made a prefab A-frame, bird-wire and plastic sheet snow hut due north (compass) of the summit of Mt X between two Mt X style split rocks (The relics are still there.) It had two stretched wire netting bed/hammock things and it became 3/4 covered with snow. The clear plastic let in lovely light along the ridge-line.
I was never ‘sprung’ but the tow operators were always perplexed that I was coming down the mountain after a blizzard while they were coming up to clear the tow-ropes and start the motors. I went to and from my hut by walking along a long East/west rock bar that always was exposed without snow cover. Then I would cover my tracks by making mixed ski-in and ski-out tracks so others may think that I had just stopped for a photo over the North face or a pee.
Regarding a stove for a hunting shelter, I have been thinking of a design that would be essentially made with earth/sand that is stabilized with skimpy amounts of Portland cement and lined with DIY refractory made with soil and sodium silicate. A clever design could make it work as a meat dehydrator/smoker when required.”
You see now what I mean by “the ingenuity and industry of many hunters fishermen etc”. Clear plastic (greenhouse) film is a wonderful material. You can readily buy a form which is quite UV resistant and long-lasting. I have seen walls constructed with it which lasted well for around twenty years – and how warm such a hut can be (particularly if double-skinned) has to be experienced to be believed – on a very cold day even without any internal heat at all.
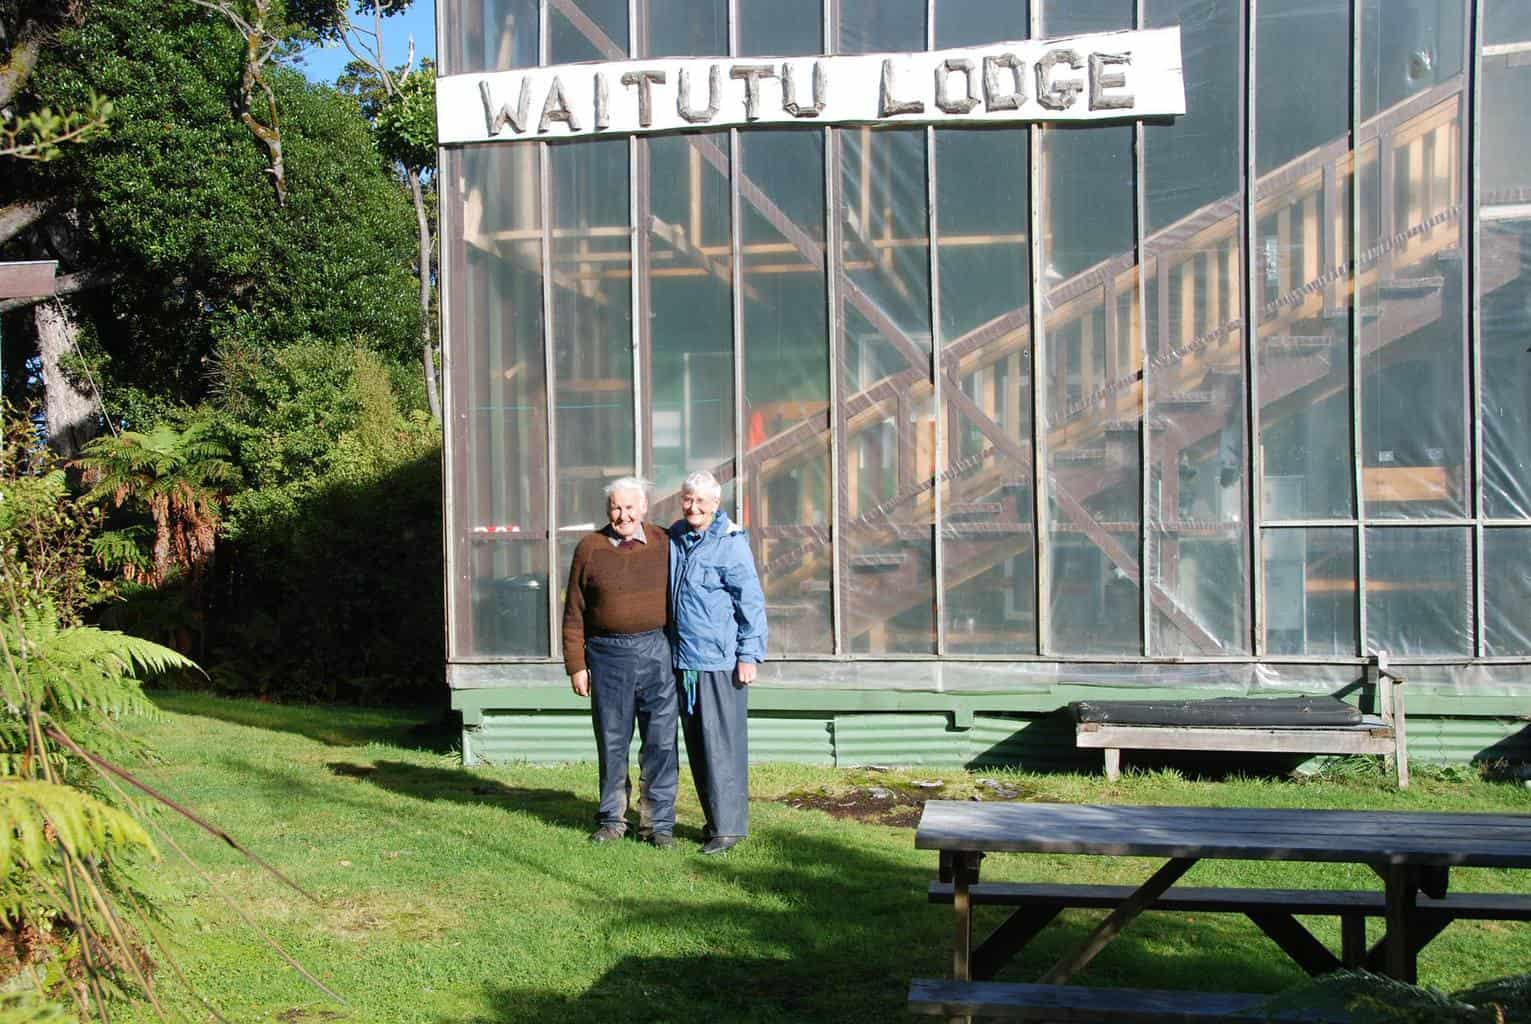
For example this is the North wall of the wonderful Waitutu Lodge on the
South Coast Track Fiiordland, New Zealand. That plastic film lasted for around twenty years to my knowledge and created a delightful heat trap. I don’t know who the couple are, but it is agrat place to c=visit – you can even take an extraordinary jetboat ride there. .
Sufficient of such a clear material or the ubiquitous black builder’s polyethylene film can be carried in a backpack to construct an admirable hut in a single trip (along with the tools to construct it) by a single ‘adventurer’ in a single multi-day trip – after which you have the use of the excellent hut for many years.
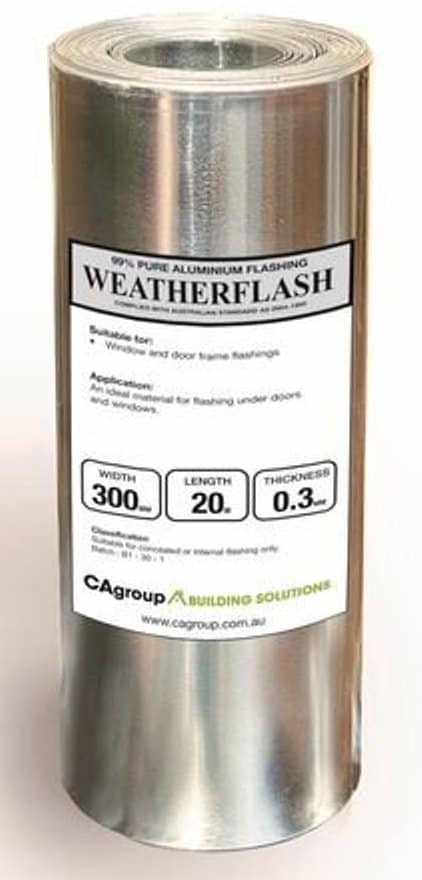
I do want to point out another cheap readily available material which might make a more secure/impervious roof/walls and which also can be carried in a backpack. That is rolls of aluminium flashing. Here
in Australia it comes in 1′ (30 cm) rolls (for A$57.57 ea) but in the USA it comes in 16″ 40 cm rolls which would be even better (less waste on the overlaps)
I would probably just attach such a material to a framework of bush poles using eg 1″ (25mm) clouts with a small rubber washer underneath. I might add a dab of silastic (silicone) to the heads and even a bead where the flashing overlaps. A single roll is 65 square feet – enough for the roof of a hut 6.5′ x 9′ (1.95 x 3.0 metres)which could hold two double bunks. Another three and a half rolls would clad all the walls – so 5 rolls altogether to make a pretty solid hut. You would need a couple of spray cans of roofing paint of different camouflaging colours to blotch paint it so it did not reflect the light (particularly from above.
I am allowing 6.5′ x 2.5′ for each bunk so that two bunks about 1.5′ off the floor butting against each other at 90 degrees in a corner will need an inside hut dimension of 6.5′ x 9′. If you hinge a second bunk above each bunk so it makes a back rest when you are seated but is suspended on some wire/chain when in use for sleeping you can easily accommodate four sleepers – with another two on the floor if needed.
To ‘flatten’ the bunks somewhat they might be first covered with wire netting before you place your inflatable mats on them. NB I am envisaging these dimensions as the minimum comfortable size to accommodate between 1-6 people.
This arrangement leaves an open floor space 4′ x 6.5′ which is tight but adequate for two – which is what I envisage as ‘the norm’. I suggest a shelf along each side in the rafters for gear stowage – packs, rifles, boots etc.
Arthur Meyers’ old shelter hut in Ross Creek, Upper Thomson Valley, Gippsland. The roof needs fixing.
It is not so hard to heat such a small space with one of my
DIY tent stoves which put out about 1000 watts for a twig use of around 400 grams per hour. and which can double as cooking facilities. You might have a go at constructing a small pot-belly stove from an old gas bottle (Be careful before you cut or weld it). There are many Youtubes about this. Have a car exhaust business make you a few 2″ stainless steel (flared end) pipe sections to use as a chimney. I would probably take it out a side wall and have then make a bend to take the chimney up an outside wall. Leaks less this way.
I would make a gable roof with the gable running along the long (9′ side) so that it is steep enough to shed snow. I would make a door (East gable end) and shutters for the window (North side) with the small bush poles/flashing method, except the window would have a double layer of clear plastic sheeting for light/insulation when the shutters are open to let in light.
I would line the hut on the inside of the bush pole framing with the black polyethylene sheeting stuffing dry grass into the ‘dead air’ space for extra insulation if you want.
The floor would be made of rammed earth. You could bring in a small quantity of cement to make this (more) impervious to moisture and ‘easy-clean’. Drainage around the outside (obviously) to take roof water etc away from the floor. You could also take some chemical in to make the poles you sink into the ground more impervious to white ants if you wanted. Creosote used to be used for this purpose. If there were stones available I would probably have a course of stones around the border of the floor and then build the floor up slightly so that water did not enter.
Leave sufficient height/space under the bunks to accommodate canoe drums to store inflatable mats, sleeping bags, supplies as needed. I am envisaging a narrow (15″) perhaps fold down work bench along the side opposite the bunks for cooking etc.
Sounds pretty cosy doesn’t it? You must have a few favourite spots which would be graced by such a hut. What are you waiting for?
PS: Another way to provide insulation would be this stuff: Kool Wrap It comes in a 10 metre by 1.5 metre wide roll which weighs 4 kg for approx A$65. The mylar reflects 95% of the heat and the bubble provides an air gap insulation.
See Also:
Debris Hut
Wilderness Hut
Nuts to Leave No Trace