Our Old Town Pack Angler canoes really don’t tolerate hard knocks on rough rapids well. Bruce and I tore a couple of holes in them when we came down the Macalister in late Spring (See Carpe Diem). I ordered the Kevlar to undertake these repairs back then but of course I didn’t get around to doing them until the day we wanted to use them again on a couple of lovely warm days with enough water on the Wonnangatta this week.
Just like everyone else my only experience of fibreglassing is in filling a few rust holes in old bomb cars over the years, but I was ‘willing to give it a go’. The result works even if it is not pretty. I can see ways that I can improve, and with fibreglass you can always come back and add another layer, or more resin, which this job needs. It also encourages me to try a bigger project some time (such as a complete canoe – who knows?
I sourced the materials from Dick at Ironbark Composites (in Torquay Victoria) who was enormously knowledgeable and generous with that knowledge. He had all the products I would need for the job – a special resin (this is apparently very important), two different grades of Kevlar and one of fibreglass to finish it – and at a reasonable price. I have enough materials left over to put some skid pads on older canoes we also own. I suspect it needs another layer of the fine fiberglass plus another layer of resin, but the repair worked on the rocks on the Wonangatta on the weekend so that is the main thing.
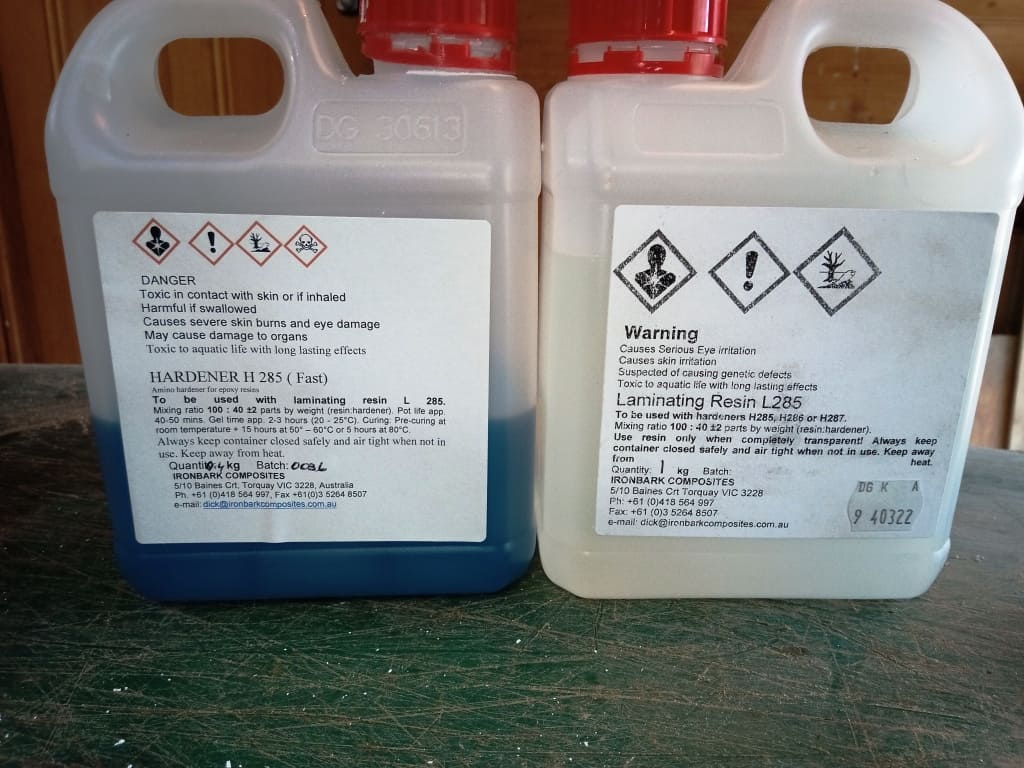
This is the resin plus hardener – if you have no experience with two-pack epoxy type products, it is just the same sort of thing as Araldite glue which surely you have used before.
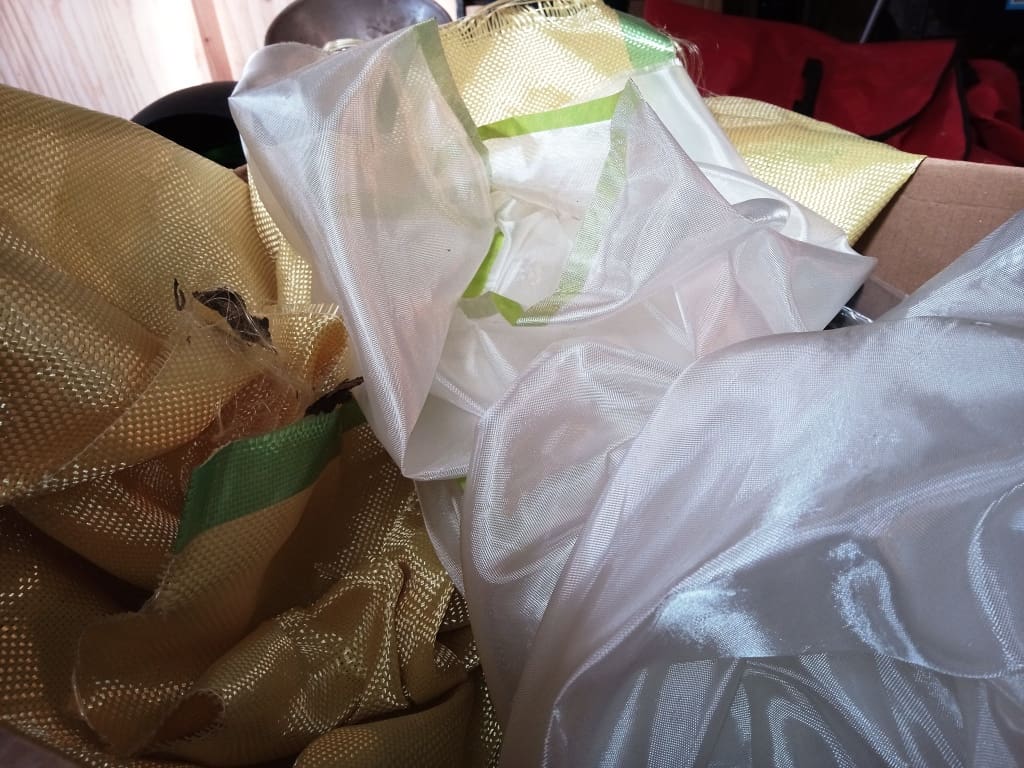
And here are two grades of Kevlar and one of fibreglass for finishing. You could apply a ‘Gel coat’ plus hardener to finish the job more picturesquely if you wanted to.
You have to ‘score’ the polyethylene eg with a saw blade so that there is something for the adhesives to ‘bite’ into.

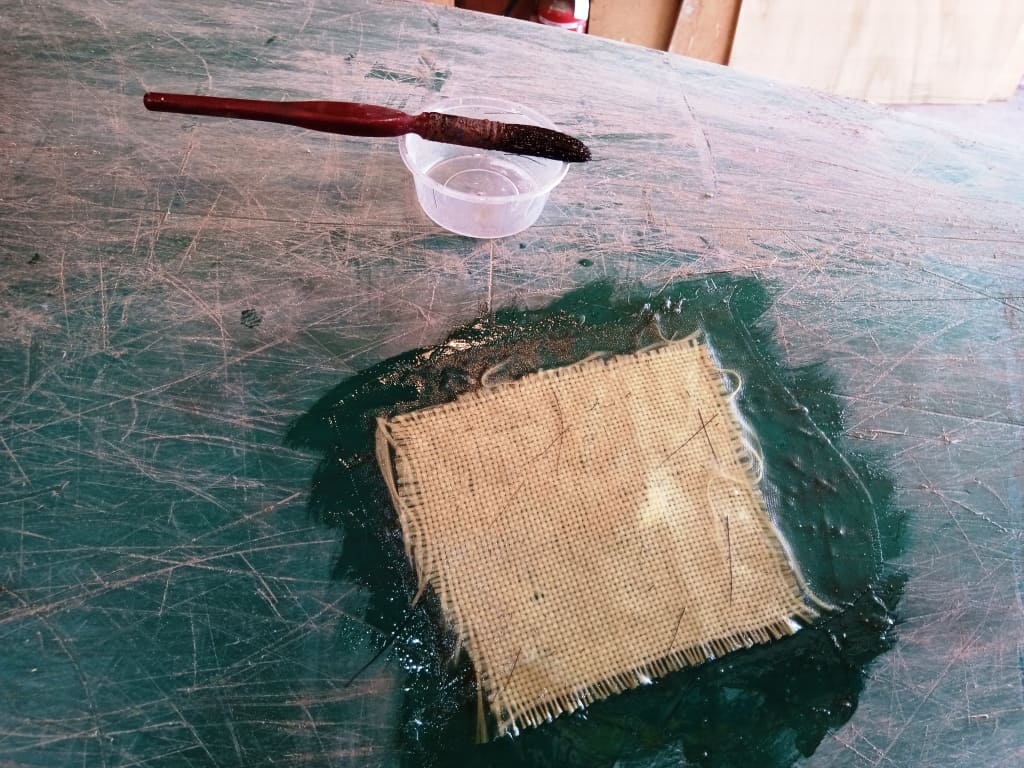
I tried a repair on a hole on one of our old ‘Australis Bass canoes first. You mix the resin and hardener as per instructions (1: .4 ratio usually) Here I have applied some resin to the area I want to patch.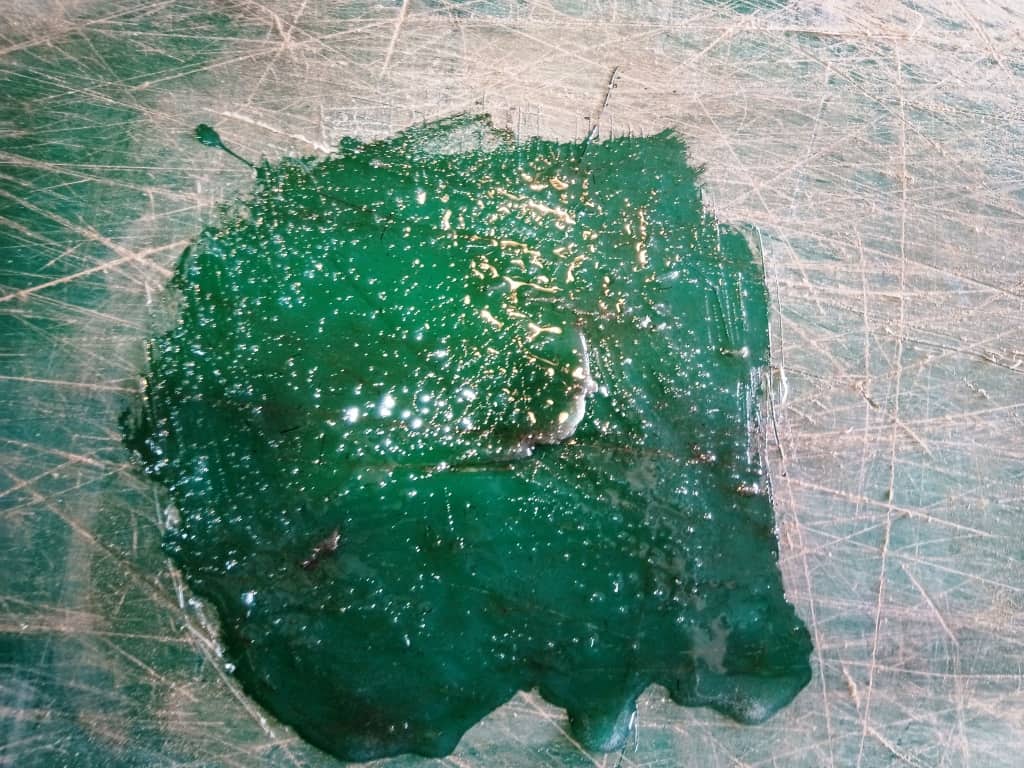
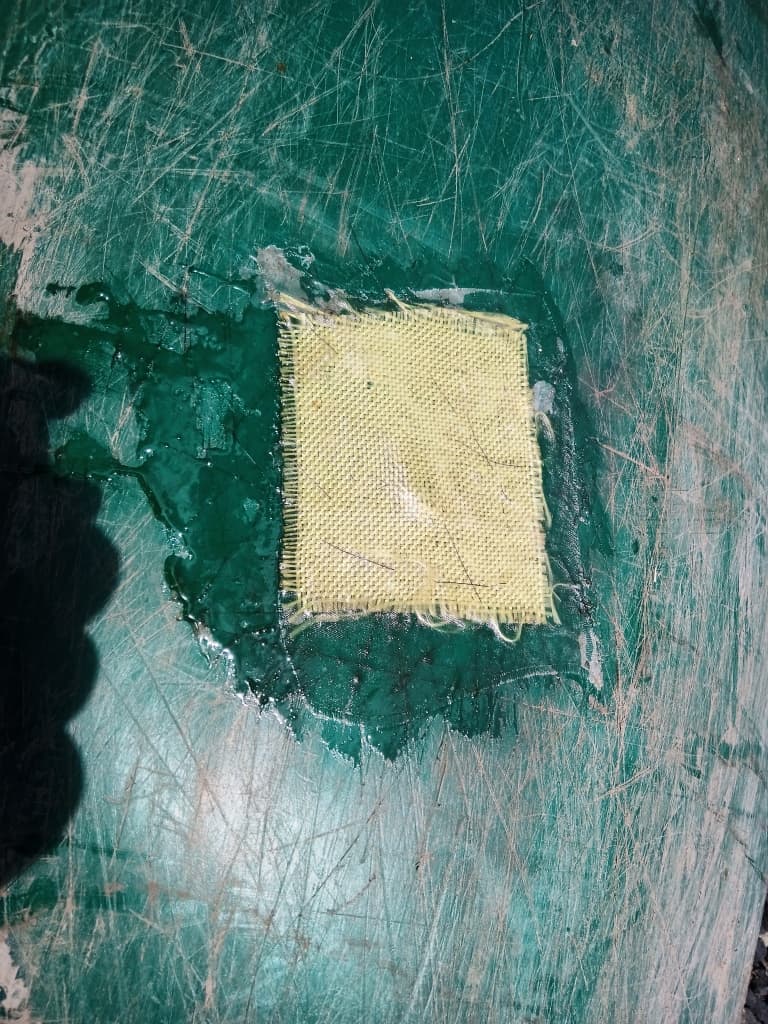
Then I sit the patch on it, then apply some more resin, then some fibreglass, then some more resin. It is as simple as that. You can wipe up the pills with a cloth. It takes hours to set and dry so you have plenty of time to work.
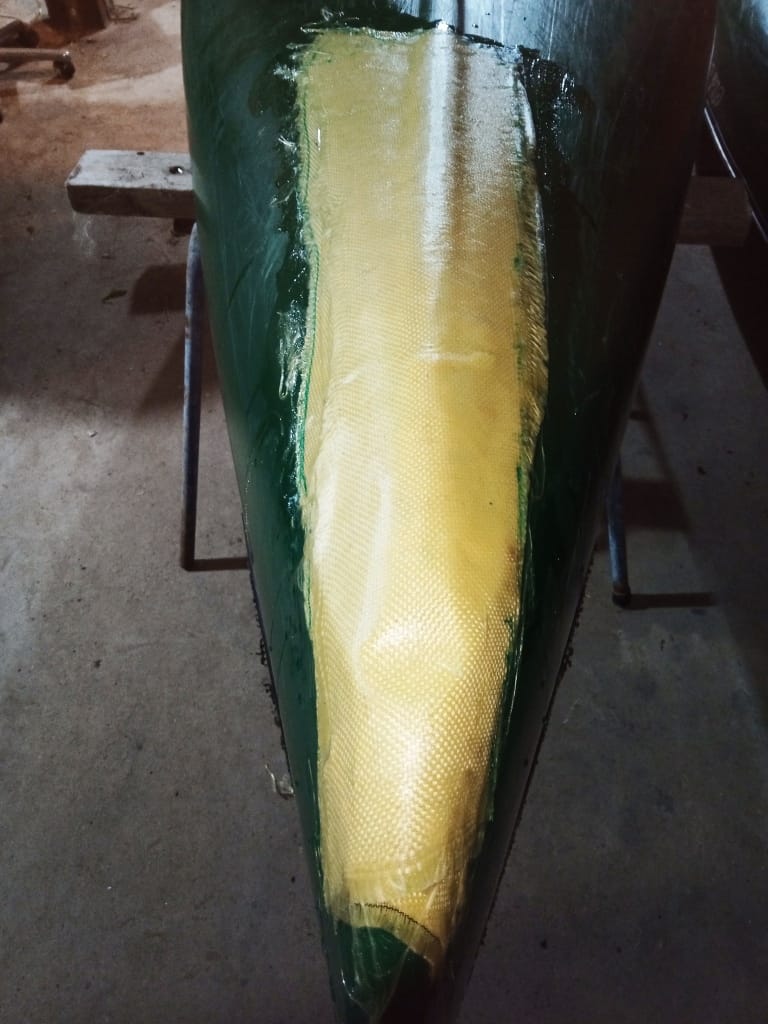
Here are two stages of adding the skid plates to the Old Town Pack Anglers
All finished. As I said, I should add another layer of fibreglass and some more resin. Still, it should stop us wearing through this keel section for some time to come. 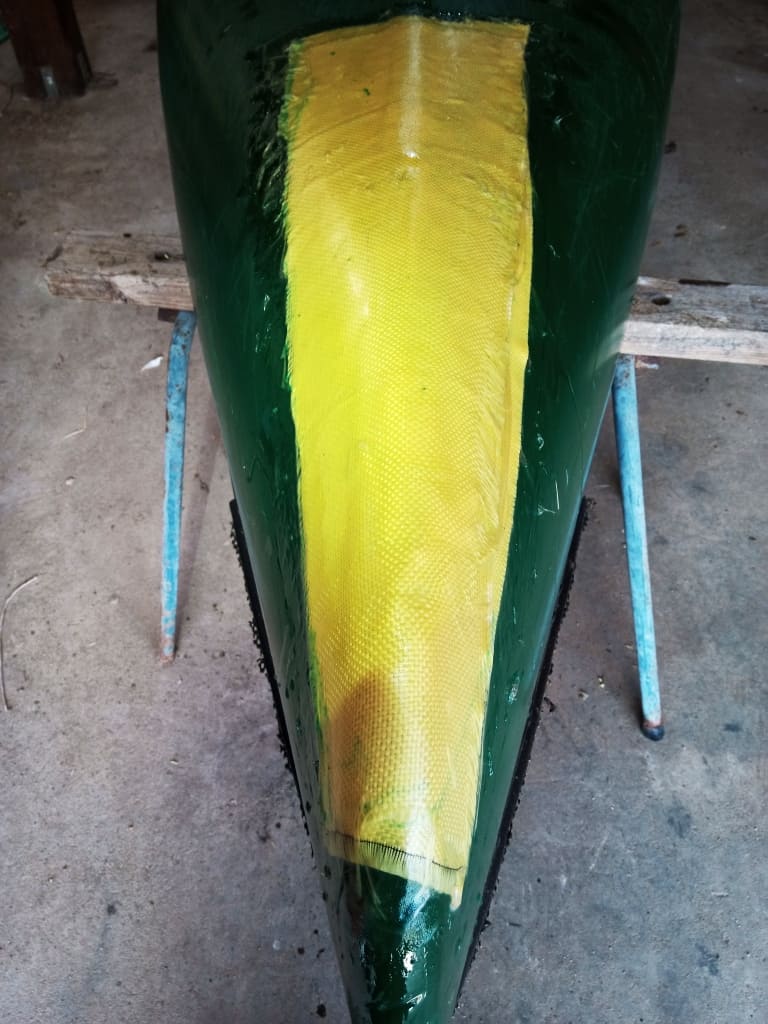 I judge that the sandwich construction of the Uniroyal material they are made of really doesn’t have a thick enough layer of polyethylene – though they are light weight, only 13.5 kg so easy to portage. However they are really more suited to flat water trips.
I will be researching whether there are reasonable light (ie sub 20 kg) one person open canoes out there, but it is a route I have been down before so I expect no luck. Most such boats are over 35 kg which is too heavy for Della and really too heavy for me to lift onto roof racks nowadays.
I am loath to go back to the smaller craft such as Perception’s ‘Minnow’ or Australis’ ‘Bass’ both of which we own a pair of, as kayak style boats which they both are are so much harder to enter and exit, harder to carry gear in – and just about impossible with dogs – though I imagine I could effect something if put to it.
I have toyed with the idea of making my own Carbon-Kevlar open canoe. I have an old Nylex Pioneer which I could use as a mould. I might end up with a serviceable boat which is under 10kg. Time will tell.
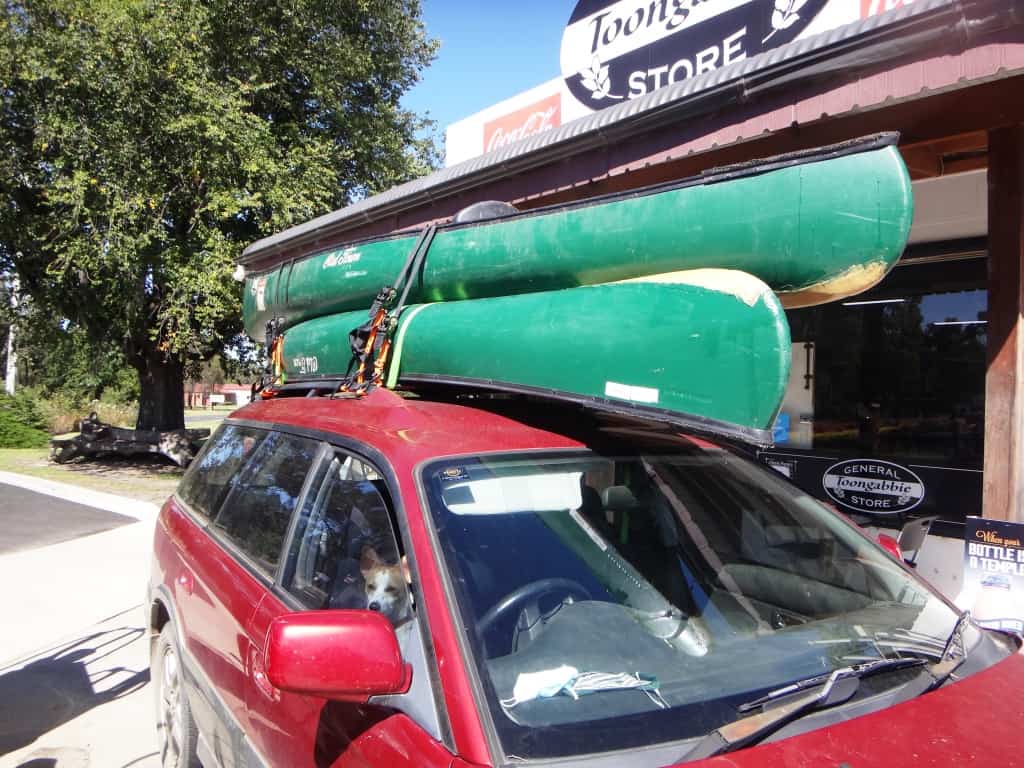
Anyway, the repairs worked out OK. Here we are heading off for a trip in our beloved Wonnangatta River – stopping at the Toongabbie General Store for one of their delicious Yarragon Baker sausage rolls.
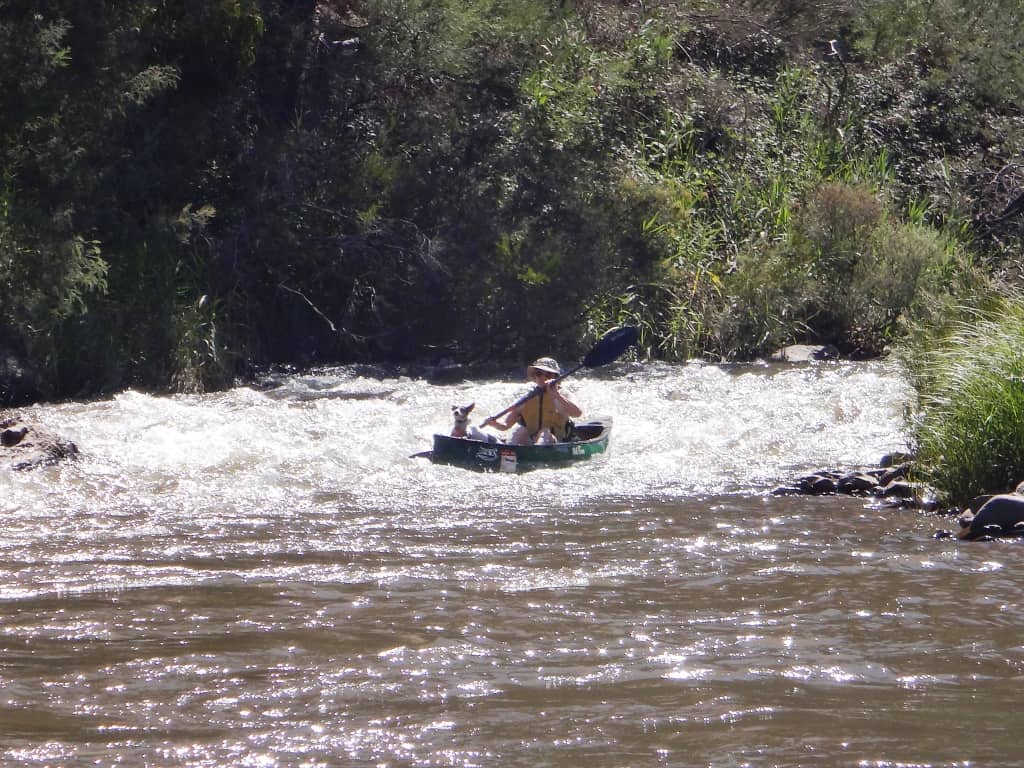
And here is Della shooting one of her favourite rapids with the repaired canoe- supervised by Spot.
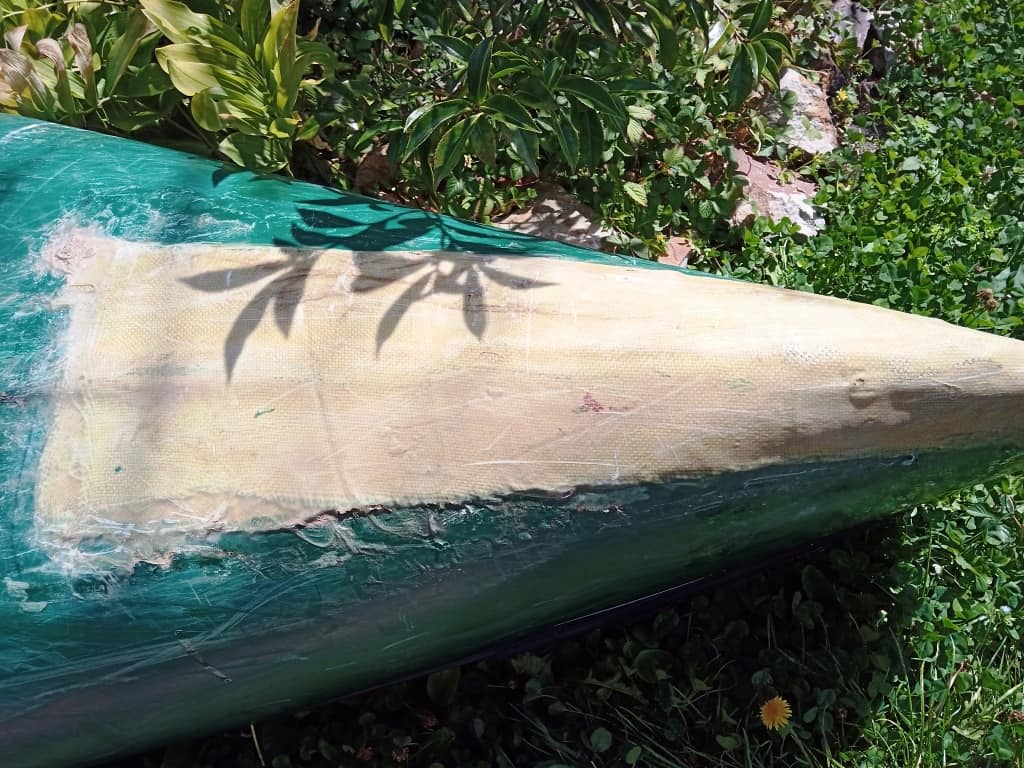
This is what the repair looked like after a couple of days banging down rapids. I can see I needed to continue the fibreglassing and resin further over to the sides – and add another coat of resin, both of which I will do before we next use them. I know many people would prefer a tidier job, but this will do, and it was no doubt cheaper as well as providing useful knowledge.
See Also:
Lightest Carbon Fibre Canadian Canoe
http://www.theultralighthiker.com/pack-rafting-the-remote-wonnangatta/
http://www.theultralighthiker.com/remote-wonnangatta-day-two/
http://www.theultralighthiker.com/a-wonnangatta-spring/
http://www.theultralighthiker.com/a-wonnangatta-spring-day-two/
http://www.theultralighthiker.com/a-wonnagatta-spring-day-three/
Section 1: http://www.theultralighthiker.com/wonnangatta-kingwell-bridge-to-black-snake-creek/
Section 2: http://www.theultralighthiker.com/wonnangatta-black-snake-to-hut-creek/
Section 3: http://www.theultralighthiker.com/wonnangatta-hut-creek-to-waterford-bridge/
http://www.theultralighthiker.com/canoe-wonnangatta/
For River Heights: http://www.theultralighthiker.com/canoeing-the-wonnangatta-catching-the-wave/
http://www.theultralighthiker.com/pack-rafting-the-wonnangatta-mitchell/
http://www.theultralighthiker.com/videos/dawn-surprise-rapid-wonnangatta-river-australia-day-2017/
http://www.theultralighthiker.com/wonnangatta-waterford-to-angusvale-day-one/
http://www.theultralighthiker.com/wonnangatta-waterford-to-angusvale-day-two/
http://www.theultralighthiker.com/wonnangatta-waterford-to-angusvale-day-three/
http://www.theultralighthiker.com/videos/canoe-wonnangatta-the-movie/