Before heading right off into the backcountry it’s best to test your gear and your skills somewhere much closer to home where you can walk away from your mistakes a little more easily. Sometimes these mistakes can be pretty bad, so it will pay to Be Prepared.
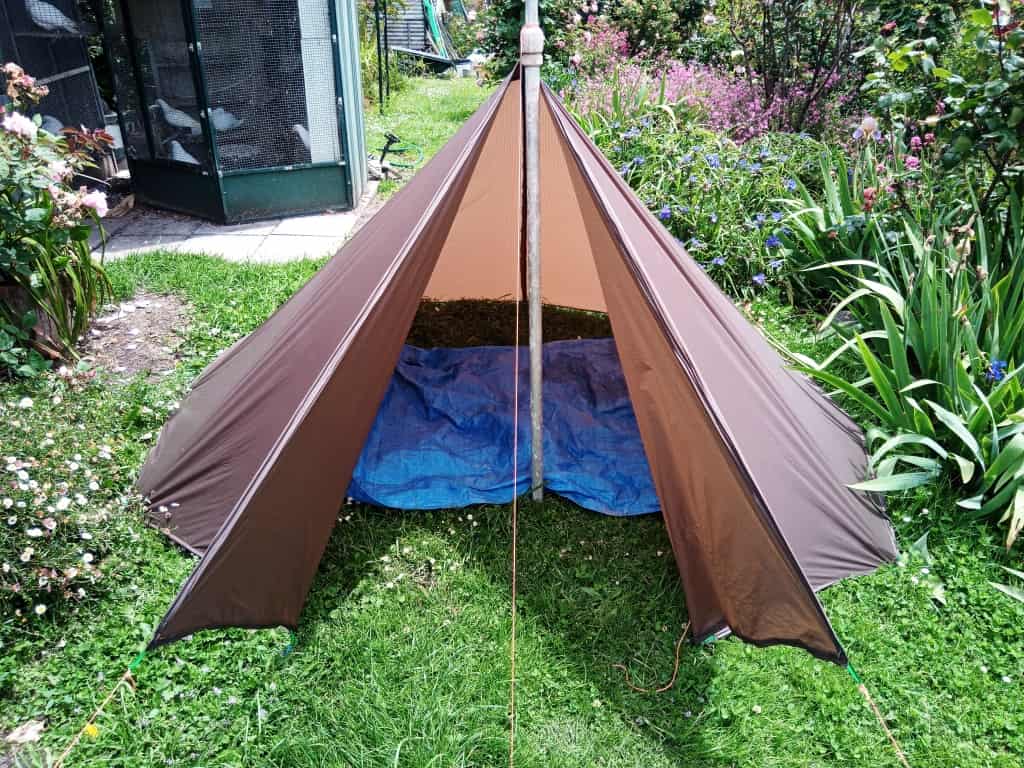
My new Deerhunter’s Tent undergoing testing right now
It saddens me to hear when people have met with disaster on a trip, or even just had an (unnecessary) lousy time. Mind you disaster is ever ready to strike: I managed so slip over in a puddle only five minutes from my car on a recent two-day walk (The Joy of Closed Roads) and practically dislocated my right shoulder and left wrist (which are still giving me trouble a couple of weeks later).
A couple (or three) of friends of mine have had the bad habit of being sucked in by the ‘promise’ of cheap/admen gear. (Even me). I can recall ‘them’ turning up (for example) in succession with a bargain mat, raincoat and lastly tent. The mat turned out to be uninsulated on a night when the temperature fell probably pretty close to zero. We were cosy right nearby on our insulated mats but they moaned, tossed and turned all night. Not the most restful sleep.
A raincoat which soaked right through straightaway was not such a wise choice either. It was not such a cold day but it was handy that I had a couple of disposable ponchos in my pack. The completely (un) waterproof tent was another major disaster which spoiled what otherwise would have been a ‘perfect camping trip’.
It’s not that ‘cheap’ is particularly bad or that ‘expensive’ is necessarily good. I have bought $1000 tents for example which were just rubbish, even as against my $10 DIY Poly Tent. This is probably even moreso when it comes to those $500 rucksacks compared to their $20 cousins. I have a couple of those too. But no more. Things do not have to break the bank. See such posts as Budget Ultralight Hiking and my DIY Hiking section if you are hoping to save a little (or a lot of) money.
Learning how to judge ‘good advice’ is probably about as hard as learning from your own mistakes! The people who work in ‘hiking’ shops are going to be de facto hopeless. Trust them as much as you would a used car salesman. Many/most outdoor reviewers are just ‘market men’ for outfitters. They not infrequently praise practically everything because it is in their (financial) interest to do so. (For example they are offered the items for free to review – and are then able to sell them later!) BackpackGearTest is (maybe) an exception to this ‘rule’ but its posts also do tend to be about high-end name-brand gear and almost never about DIY.
There really is no substitute for learning by yourself – and DIY is such a good idea too. It is a great way to save money and hone skills which will be useful in the field if/when you need to affect repairs. It also allows for ‘tailoring’ to your own needs for another thing. A reliable sewing machine (I use a pretty basic Janome) costs only a couple of hundred dollars and will save you thousands over time.
You may notice I almost always post photos of my own ‘creations’ erected on the small flat strip of land just off our verandah just about all of our thirty acres still allowed by my wife Della’s ever encroaching garden. (There is a new ‘Deer Hunter’s Tent there this morning – more about that later) This is not usually just for the photo opp. but is also my usual test-bed. The tents (or whatever) are left there for days on end to see what happens to them in changeable weather, often with me and/or the dogs sleeping in them particularly if the weather promises to be truly awful. If the ‘rain gods’ don’t want to deliver, then I might set up a sprinkler over them so that I can be sure of a good soaking (Well, hopefully not).
Sometimes I am energised by a forecast of really dreadful weather (eg the coldest, windiest, wettest we have ever had here at Jeeralang Junction) just so I can set myself up for a night out to make sure that my outfit will stand up to such circumstances before I take it farther afield. It is not simply masochism, but I own that I do enjoy sleeping out of doors. Having been raised in a tent as I was as a child – my parents were itinerants – I guess it has been trained into me.
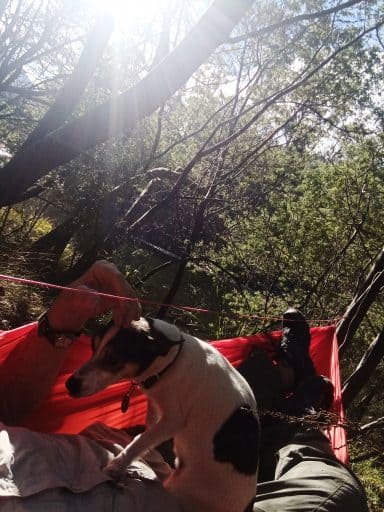
I recommend you do this. It is how come I know for sure that my hammock camping set-up (I just use my normal mat and sleeping bag, but with some refinements) is excellent down to -9C because I have slept with it on the edge of the verandah when I could see the thermometer next to me. You just need to do something to prevent your shoulders compressing your sleeping bag. A couple of pieces of closed cell foam will suffice. I will have a new ‘wrinkle on this soon.
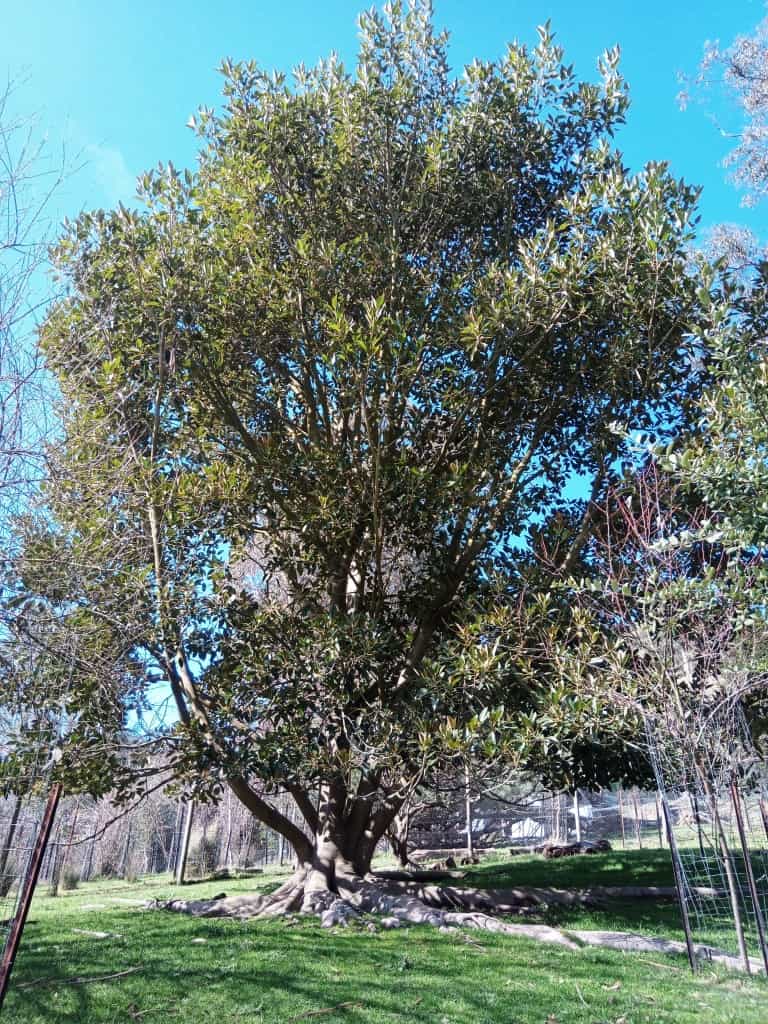
We (now) have this magnificent Moreton Bay Fig to camp under in the backyard – planted by my son thirty years ago.
Find some private spot in a backyard or piece of waste ground (a railway right of way, freeway verge, a scrap of rubbishy bush along the river etc) nearby where you can set up up your camp (undisturbed) in some pretty ordinary weather just so you know how well your set-up (not to mention your self) is going to cope.
One thing you will soon discover is the desirability of seam sealing (which is a cheap, easy DIY process). The recipe is here. It helps if you have a garage floor, clothes line or a large tent making table to spread the thing out to dry, otherwise your lounge room is going to be cluttered for a while.
Another thing you may realise is the desirability of adding Tent Anchors. to your tent. This may involve you figuring out how to sew on some extra tie-outs too. It is impossible to have too many, and they weigh practically nothing – as do the guys. Ones part way up the walls are good too to keep the tent material from billowing in on you. BTW: you can always improvise extra pegs from tree branches in the woods.
You may well decide the tent you chose is an absolute nightmare to put up and doesn’t want to stay up. I have found this to be pretty much normal with most expensive tents, one of the reasons I have spent years refining my own DIY Tents. Hopefully you will also be able to assess your sleep system and cooking set-up. You should take to bringing your fully loaded backpack on your afternoon walks to try and decide whether it really is the backpack for you – it probably isn’t. Again why I long ago took to modifying others (particularly cheaper ones), and finally to making my own. More about that soon. As a beginning you might try, New Pack Suspension System.
One thing you should soon learn about the backpack (plus your other gear) is that it is all pretty much too heavy. In my experience the pack should not weigh any more than 500 grams (say 1 lb), likewise the sleeping bag and tent, ie 1 lb each. The sleeping mat will weigh slightly less (3-400 grams) and the cooking set-up around 100 grams. The raincoat maybe 150 grams. These are the really important things to enable you to keep the whole pack weight down under roughly 10 kg including food for a one-week trip.
You will find many suggestions in this website how you can achieve all those goals reasonably easily and cheaply. Plus there are numerous other suggestions for cutting your weight – but do not become obsessed with doing so to the detriment of your personal safety. For example, always have the ability to shelter and warm yourself and to call for help if you need it.
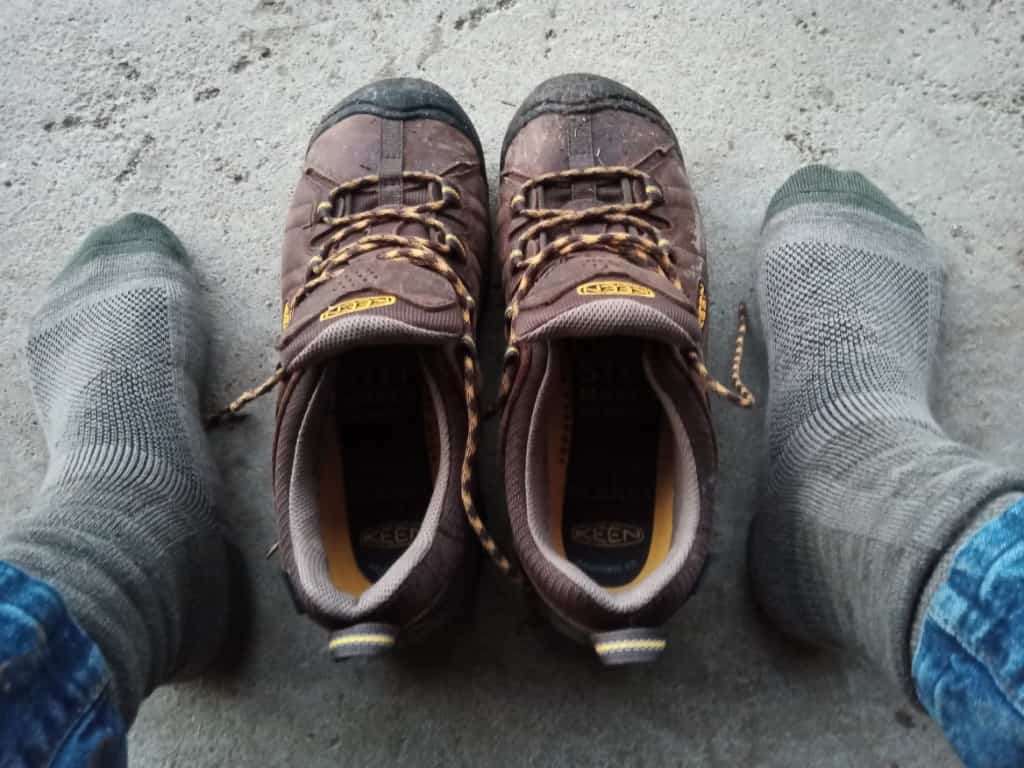
Starting from the ground up, always try out those shoes before you go. Wear them in a bit then set them aside for those longer trips. It can be a misery to (discovering a couple of days before a trip (as I did on the South Coast Track back in 2016) that your shoes are pretty near worn out, that you (I) need a new pair, to rush around and buy a pair that are pretty much the same as your old ones, then simply launch into a ten-day walk with pretty much brand-new shoes. Who could have foreseen (on this occasion) that the new shoes took on a vast amount extra of weight when wet (over 500 grams each) than the old ones. There I was for ten days slogging through the sodden Fiordland forests with nearly a kilogram on each foot. It made me feel even more (prematurely?) aged than I in fact was. It did not spoil the trip but it did add a touch of unpleasantness to it which I would rather be without. See South Coast Track Fiordland NZ.
I currently have a new pair of shoes ‘ready to go’ for our next trip. See Wide Shoes.
Other things you should master before you go: route finding, fire lighting, how to deal with insects, prevent sunburn, heat rash, toiletry and bath essentials , what food, water you need. I have dealt with all of these topics (and many others) in numerous posts over the years which it will profit you to run back over. Try the search facility to find some.
See Also:
Even More Free Stuff for Hiking
So sorry that I missed Della’s birthday.. still slouching, and lurching thro life. To our quantum destinations. Far beyond the highest mountain or deepest forest the likes of us shall ever know!!
Happy birthday Della…and I hope that you are still pumping iron!
You may need to carry that argument of yours out of the bush one day!!
Laughing…can’t insert happy mojos.
Bought a beat up 16 ft Canadian canoe from the river land for $300
.so as soon as I can get up there I shall pick-up and regel coat and use the electric motor you were so kind to give me.
Anyway..Happy birthday Della!
I don’t know how to move this comment to the correct post Jock, but we both thank you for your best wishes and hope to see you soon. Cheers, Steve.