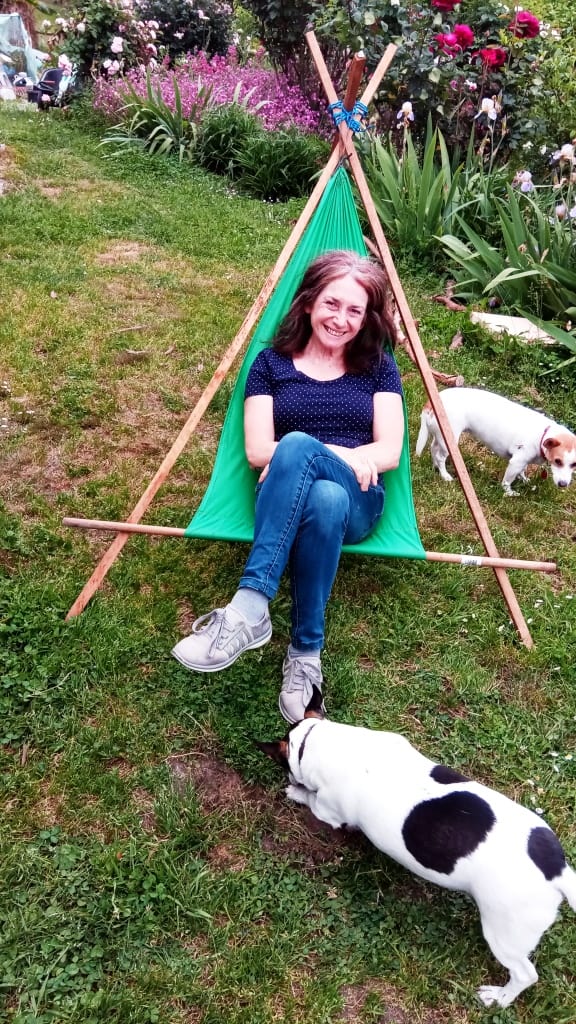
I have posted about this chair before but I have to admit I had never made one myself. Well now I have – and I’m sold. This is the perfect chair for the backpack hunter, and anyone else. I made this chair out of a scrap of (approx) 2 oz/yd2 ripstop nylon from Spotlight I had left over from another project. It took less than half an hour to sew and about two minutes to construct with four sticks. Yes they are tomato stakes, not the best material as the edges tend to cut into the cord.
Round poles would be better. Cutting straight green hardwood saplings would be the surest way of getting a strong chair but if you don’t want to do that you can collect and carefully test dry dead branches found on the forest floor. The little 41 gram Sierra saw is all you need to cut them to size. The two side poles are OK at 6-7′ but the rear one would be better a bit longer. (All these are 6′ tomato stakes). I have used a piece of 1″ dowel at the front of the seat. It is about 4′ long.
The chair will be more comfortable if this is also lashed to the two side poles (about 2″ higher than you see it here). That will allow you to sink into the chair more. It will also make it a bit harder to get in and out – a factor if you are my age. If the three poles (particularity the rear one) are a bit longer you will be able to lie back and relax a little more.
I suspect you could use a piece of stout cord instead of the front crossbar. This would make the chair more hammock-like and perhaps more comfortable. You could put your inflated mat in it too if you wanted ultimate luxury. It is quite comfortable enough as it is really.

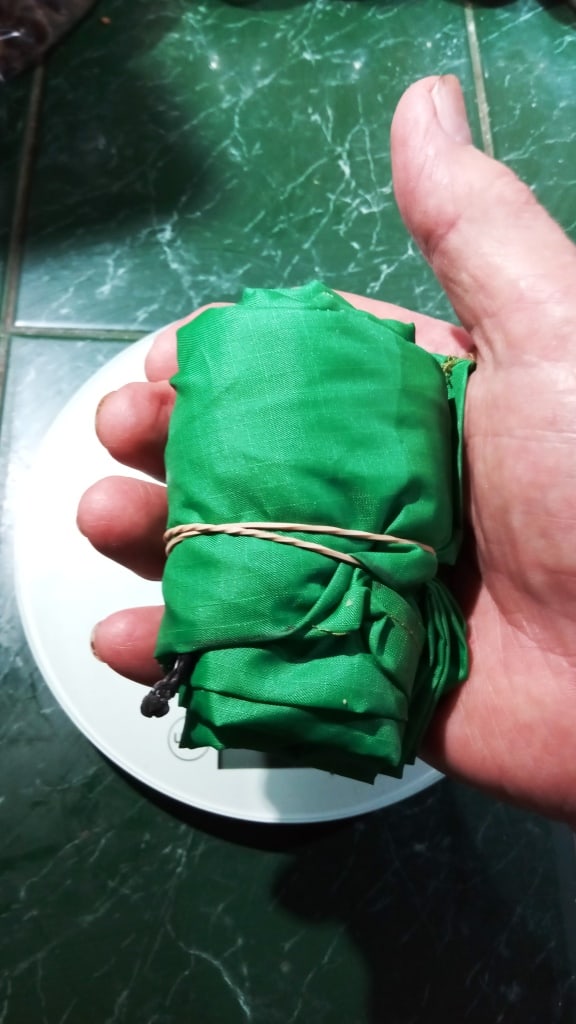
It weighs just 56 grams – as you can see. I imagine it could be even lighter than this.

Indeed just a very tiny handful. It is not going to take up much room in your pack, and will even fit in your breast pocket.
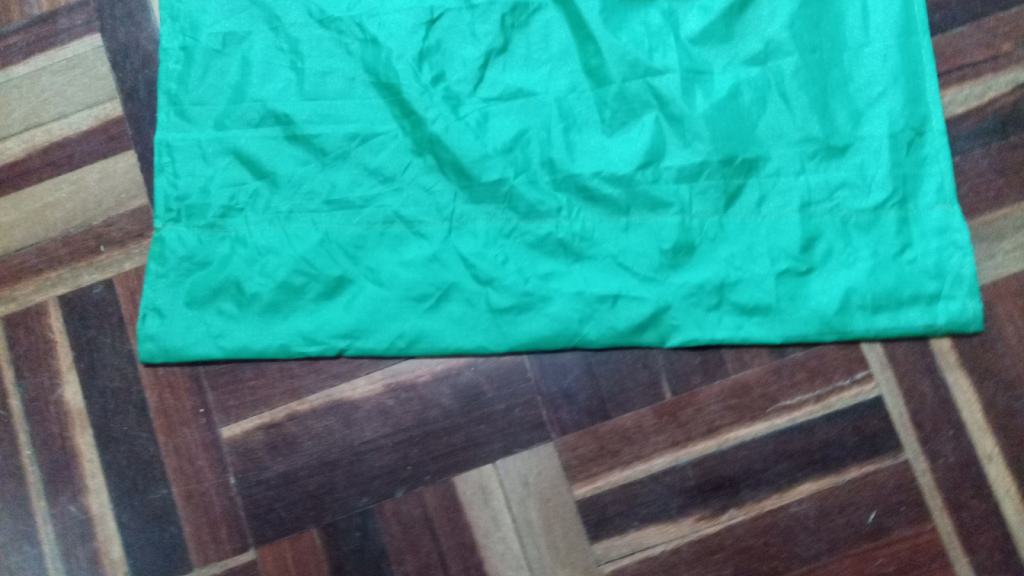
The chair is just a rectangle. I started with a piece of ripstop 26″ by 50″ which I hemmed 1/2″ all round. Then at one end I sewed a channel approx 1″ and 4″ at the other. I sewed two lines of stitching very close together for strength. Then just a short length of dyneema cord to hang it from.
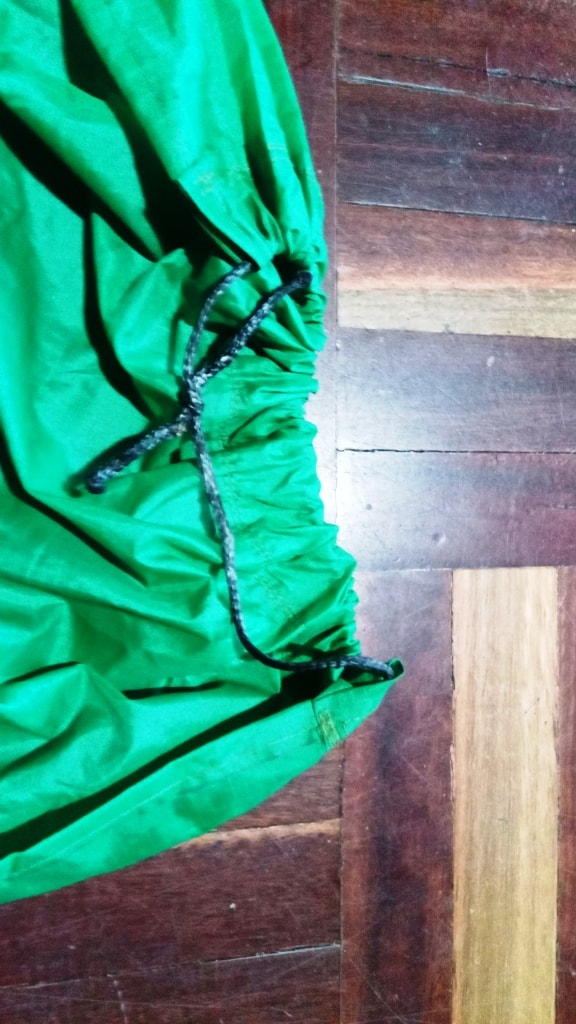
4″ x channel:
1″ channel. The dyneema is simply tied with a reef knot.
PS: You need to really practice your lashing skills. (Look up ‘lashing’). Those poles need to be tied together securely so they will not slip down. The hammock cord is simply hanged on the (front) end of the rear pole. Lashing of the horizontal pole is less critical as there is very little force on it. You will need about 3 yards of 3-4 mm Spectra cord for the top lashing and two approx 2′ lengths for the side pieces. The cord will add about another 10 grams. Hope it doesn’t break your back!
This chair would be ideal for the backpack hunter. (You probably already carry a saw – but the little one mentioned above might replace it!) At least one of these chairs would fit in one of my ultralight tents such as the Grey Flyer or Deerhunter’s Tent #2 out of the rain and in front of a warm fire. How good is that. Or you could sit inside comfortably and warm yourself with this DIY ultralight tent stove at 300 grams.
Top Tip: If you can’t sew you can do this with any normal hammock. Just hang the two ends of the hammock to the top and put the horizontal pole through the folded middle of the hammock. If your hammock is more than 8′ long the uprights poles may need to be longer. Give it a try.
Tip 2: You will find that the lashing will be more secure if you whittle a ‘neck’ into teach of the three legs before pulling them together with the lashing.
See Also: